

 3 weeks ago
23
3 weeks ago
23
PROTECT YOUR DNA WITH QUANTUM TECHNOLOGY
Orgo-Life the new way to the future Advertising by AdpathwayPublished August 31, 2026 02:57PM
If you’re new to yin yoga, the first thing to understand is that there’s nothing to prove—you can’t be bad at it. There’s no balance to hold, no fast-moving flow to keep up with, and no ideal shape your body is “supposed” to make. You settle into a yin yoga pose, you stay for a while, and you let gravity do the work. That’s the whole practice.
Most styles of yoga work your muscles. Yin yoga barely touches them. Instead, it works the deeper connective tissue, the fascia and joints that stiffen over years of sitting, standing, and scrolling. You reach that tissue that’s tightened over time by slowing down, and lingering in each shape for a few minutes as passively as possible. No pushing, no effort.
Still, there are a few things to keep in mind as you practice yin yoga. Each time ease into a shape, move slowly, stop at the point of resistance, and stay where you are without using any muscle tension. That’s your pose. You want to aim for about 60 to 80 percent of your full range. In other words, you want to stretch enough to feel something in the target area but you want to stretch considerably short of your maximum because you’re going to be here for a while. If you attempt to push deeper, your body will brace to protect itself. In yin, less is more. Your edge will look nothing like anyone else’s, and that’s exactly as it should be.
Once you’re in a yin yoga pose, be still. Mindful adjustments are welcome, and pain means that you should shift. Otherwise, do you’re best to be where you are and embrace any sensation. Finally, longer holds reach deeper tissues. Two minutes in each pose is a good recommendation for beginners; if a shape feels good, you’re welcome to stay longer. There’s no prize for rushing through the practice.
The five yin yoga poses for beginners below balance each other—folding forward, bending sideways, opening the front body—and the sequence travels from seated to lying down, so once you’re on your back, you get to stay there. As you transition in between poses, do so slowly and pause for a few breaths before moving on.
Beginners often ask what they should be doing in these long, quiet holds. The honest answer is less than you think. That’s the practice.
5 Yin Yoga Poses for Beginners
Grab any supportive props nearby—a cushion, a block, a folded blanket—and don’t hesitate to use them. They’re not a sign you’re struggling. They’re there so your body can let go. As you remain in each shape, simply breathe.
1. Butterfly Pose
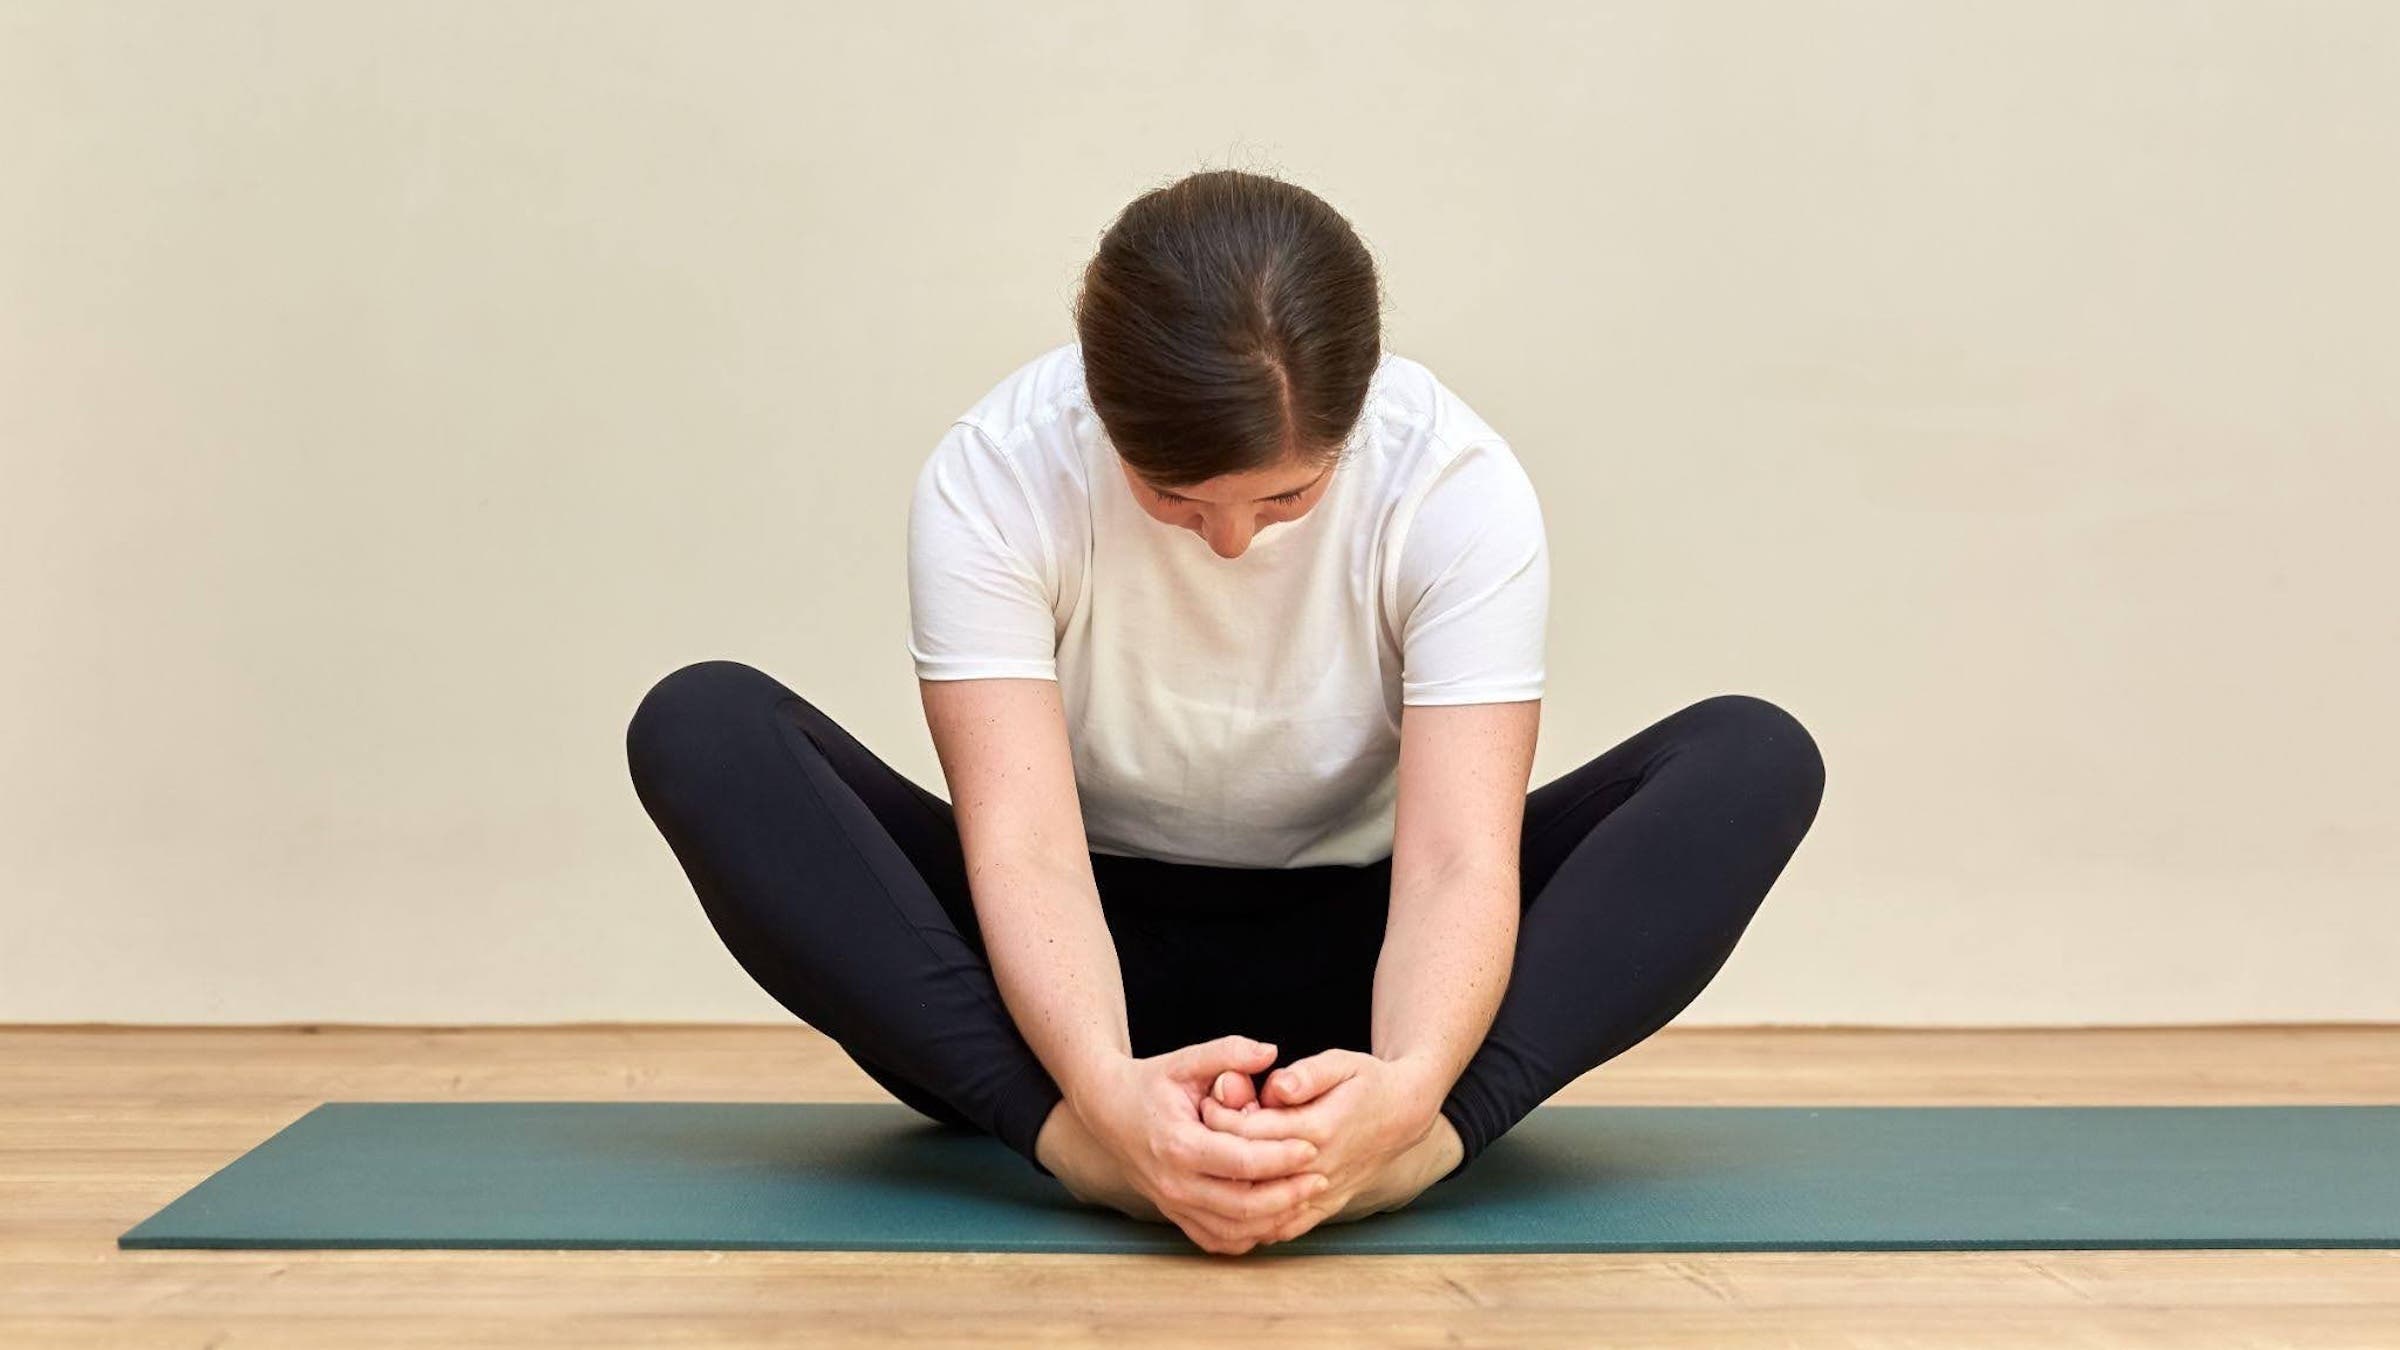
You’re likely already familiar with this beginner-friendly seated yin yoga pose, which targets the inner thighs, hips, and the lower back. This is the pose that a lot of yin yoga classes begin with, and for good reason: it asks for nothing and opens almost everything.
How to: To practice Butterfly Pose, sit with the soles of your feet together and let your knees fall open. Slide the feet away from you so your legs make a diamond, then let your upper body fold forward from the hips and let the spine round. Pause once you reach resistance.
Allow your head to hang and your arms to rest wherever they land. If your knees float high off the floor, don’t force them down. Instead, tuck a cushion under each one and let them rest. Whether your knees hover high or rest low, the pose is working. You can rest your hands on your feet but there’s no need to grip. You might find that as time passes, your body will sink a little closer to the mat, which is fine. But don’t force it.
If this feels too intense on your low back, try sitting on the edge of a folded blanket, cushion, or yoga block. If this feels too intense on your hips or hamstrings, slide your feet a little farther away from you.
2. Caterpillar Pose
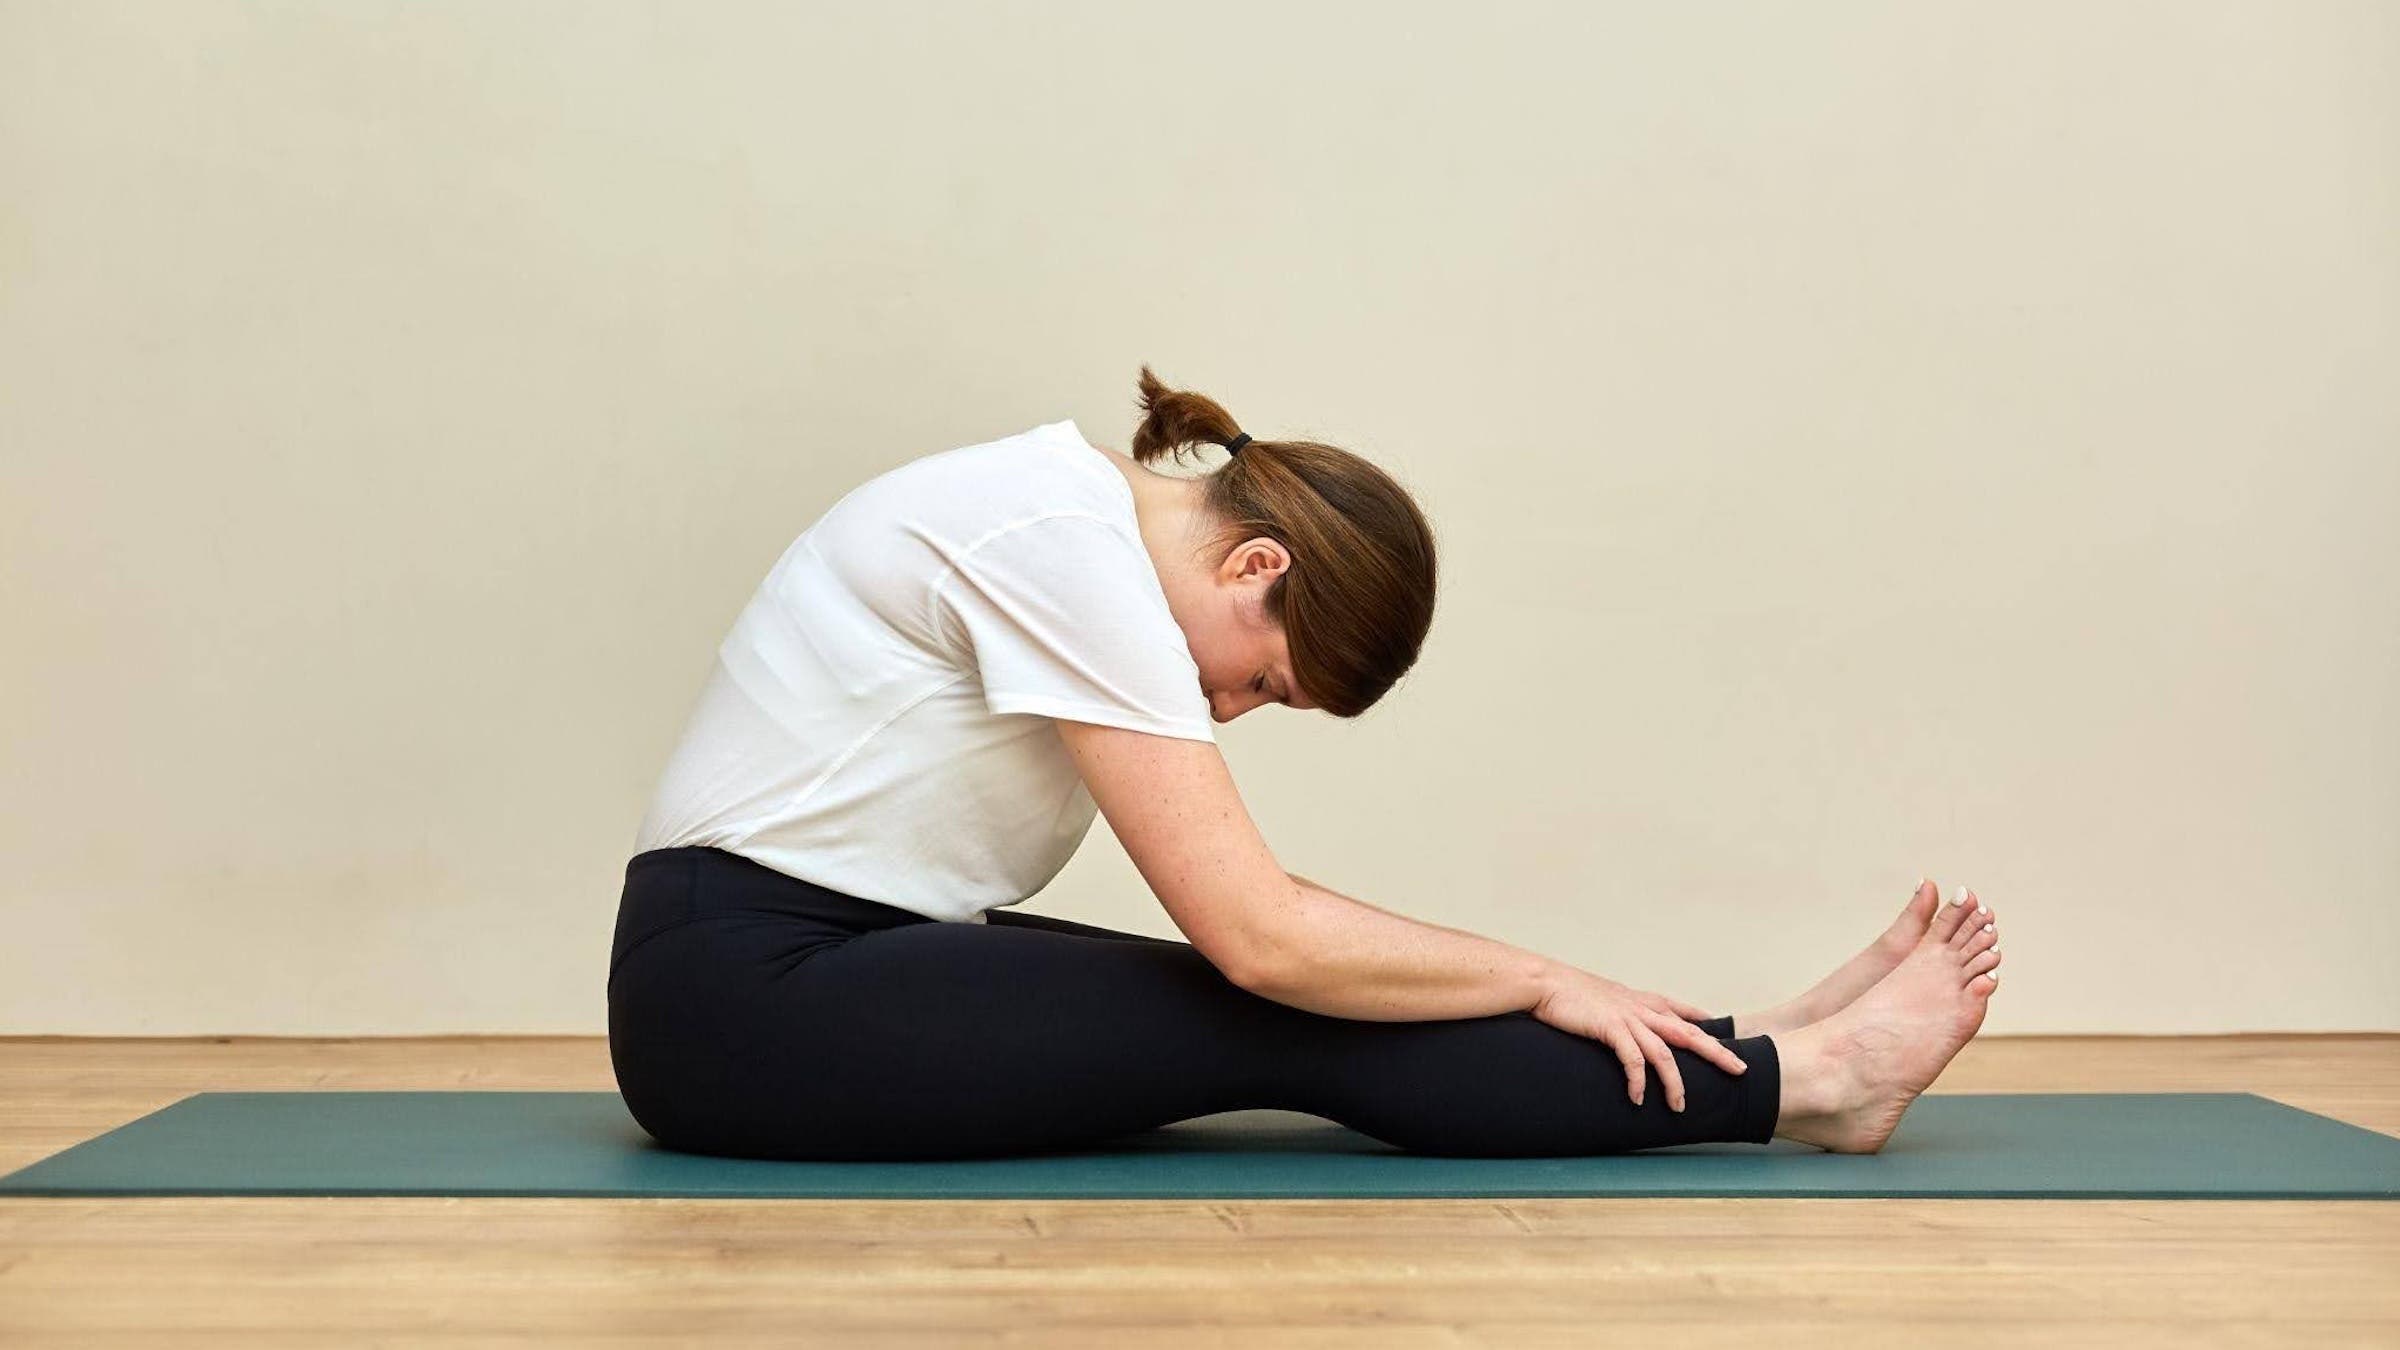
For a simple yin yoga pose that targets the hamstrings and the entire back of the body, try Caterpillar Pose.
How to: Sit with your legs out straight in front of you. Slowly fold forward over your thighs, pausing at the first point of resistance. Allow your spine to round and your head to hang. This is not the forward fold you learned in other yoga classes—no long spine, no reaching for your toes.
If your hamstrings shout at you, bend your knees as generously as needed or sit on a cushion. Don’t worry about how it looks; focus on how it feels.
3. Dragonfly Pose
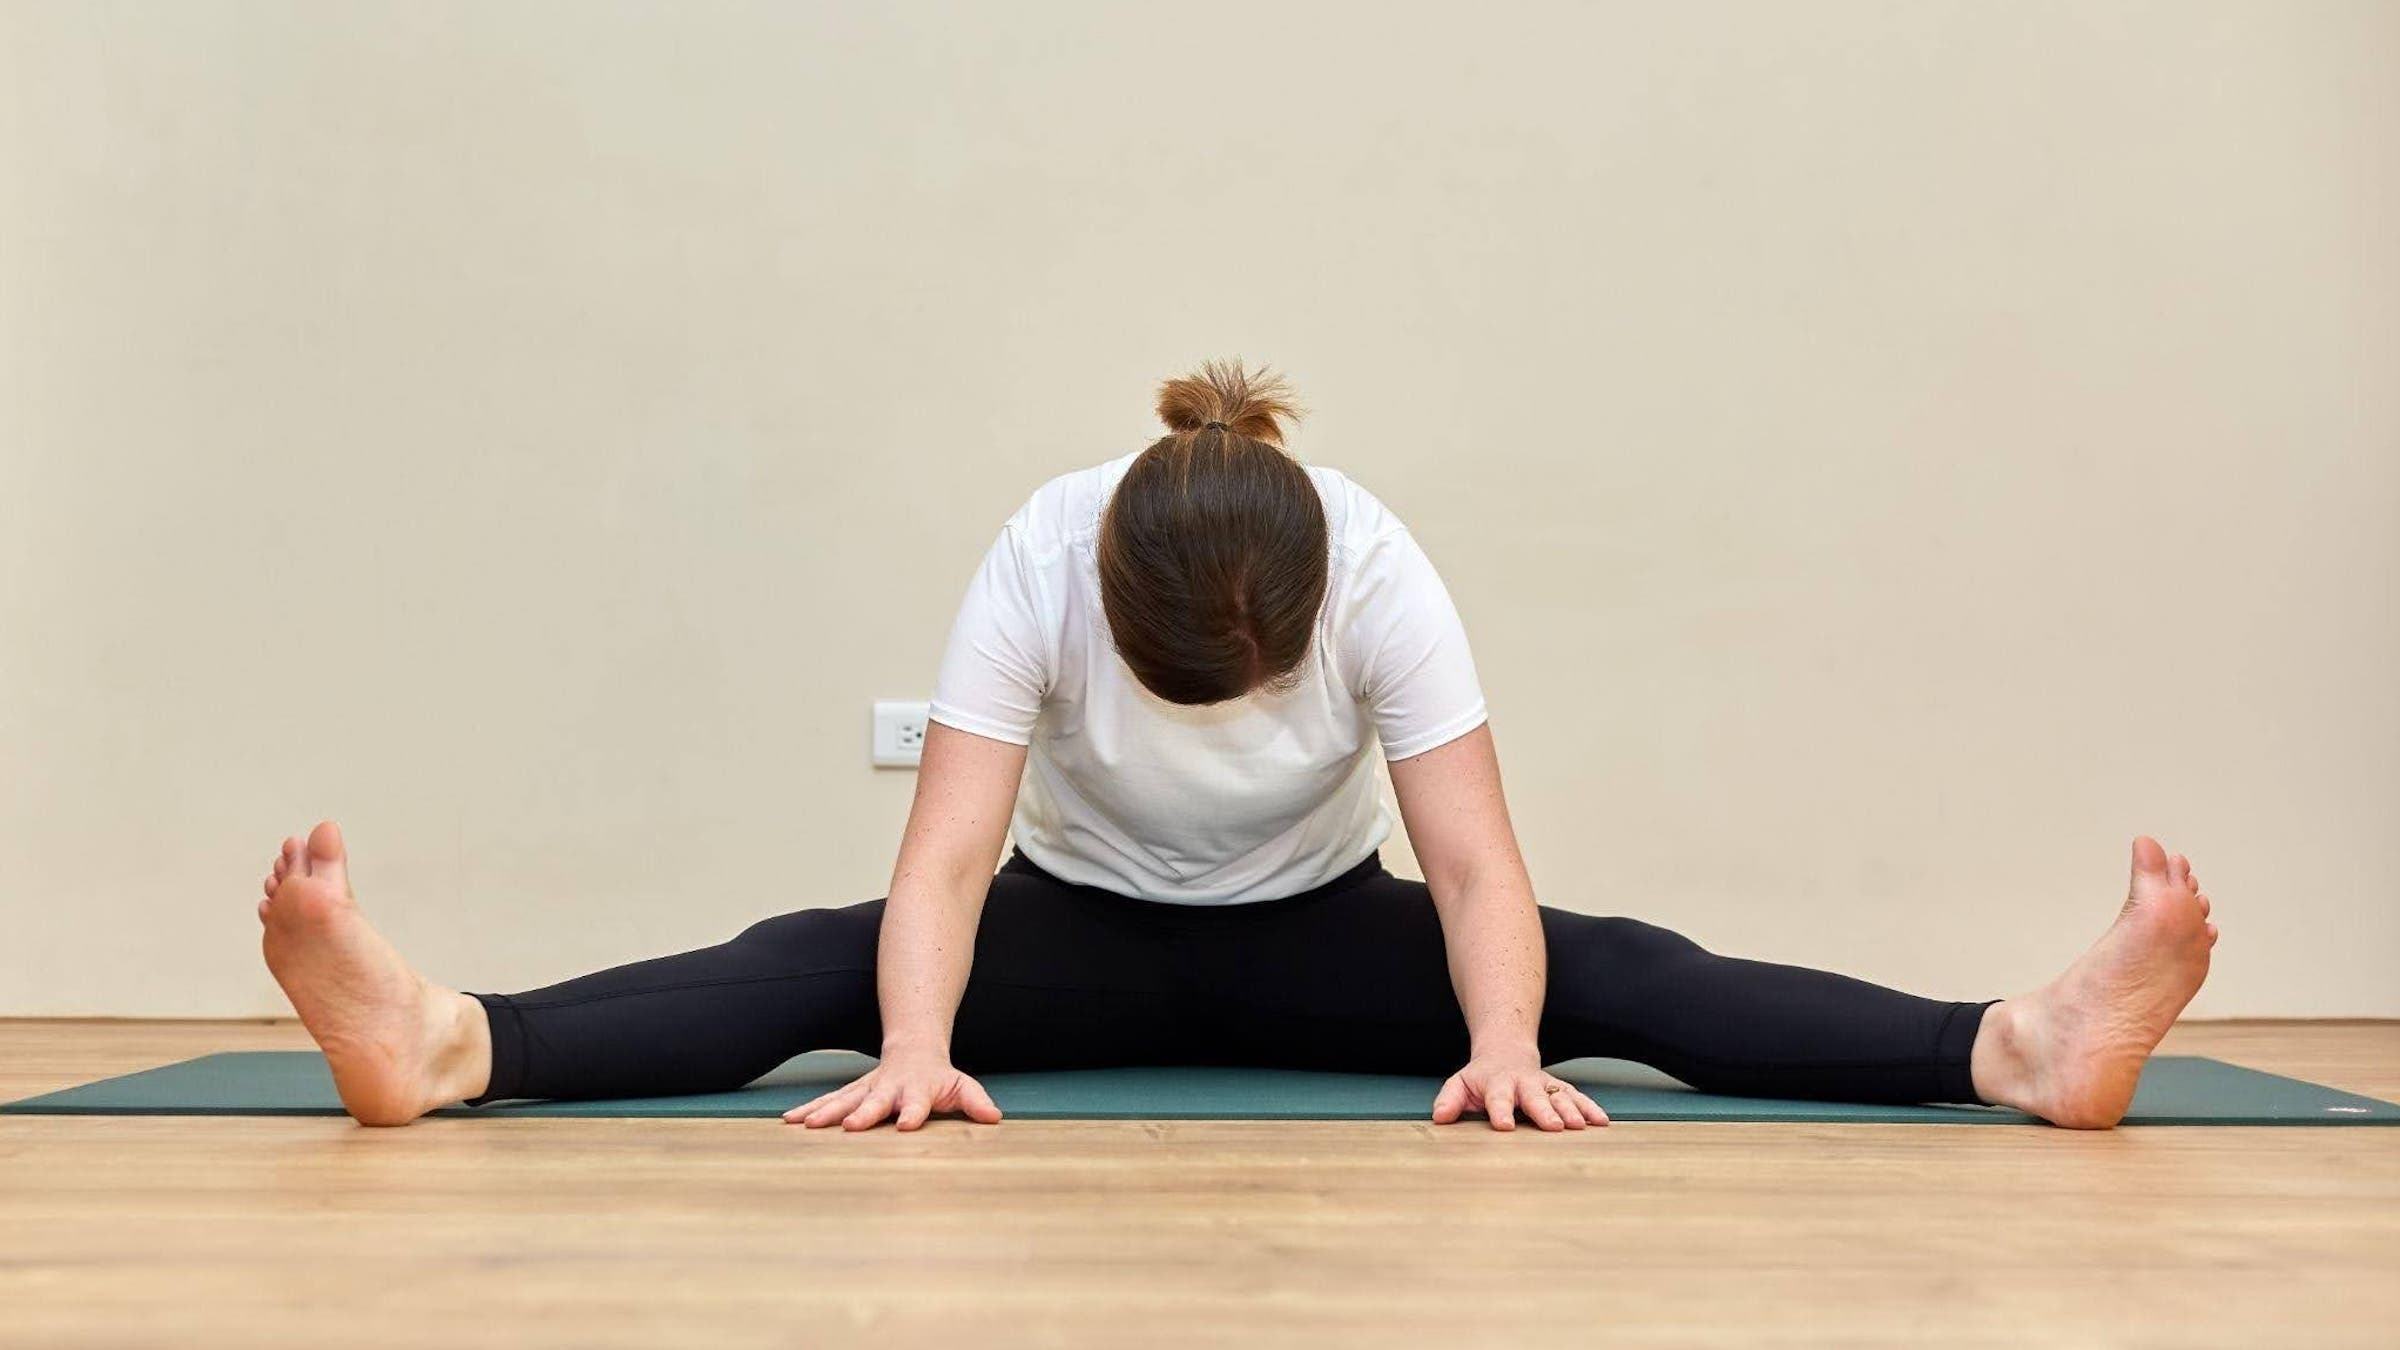
This wide-legged forward bend targets the inner thighs, hamstrings, and the hips.
How to: Sit with your legs wide. And here’s the secret to Dragonfly Pose—not that wide. Forget the splits you’ve seen in photos. Take your legs apart until you feel the first whisper of a stretch, then stay there and fold forward, allowing the spine to round. Rest your hands on the floor, stack your fists on the mat underneath your forehead, or lean onto a cushion pulled in close in front of your chest.
If sitting up feels like work, sit on the edge of a folded blanket, cushion, or block. Let your knees soften and your feet flop outward. How far you fold forward is beside the point; the connective tissues don’t know (or care) what you look like. It’s all about how the pose feels.
4. Banana Pose
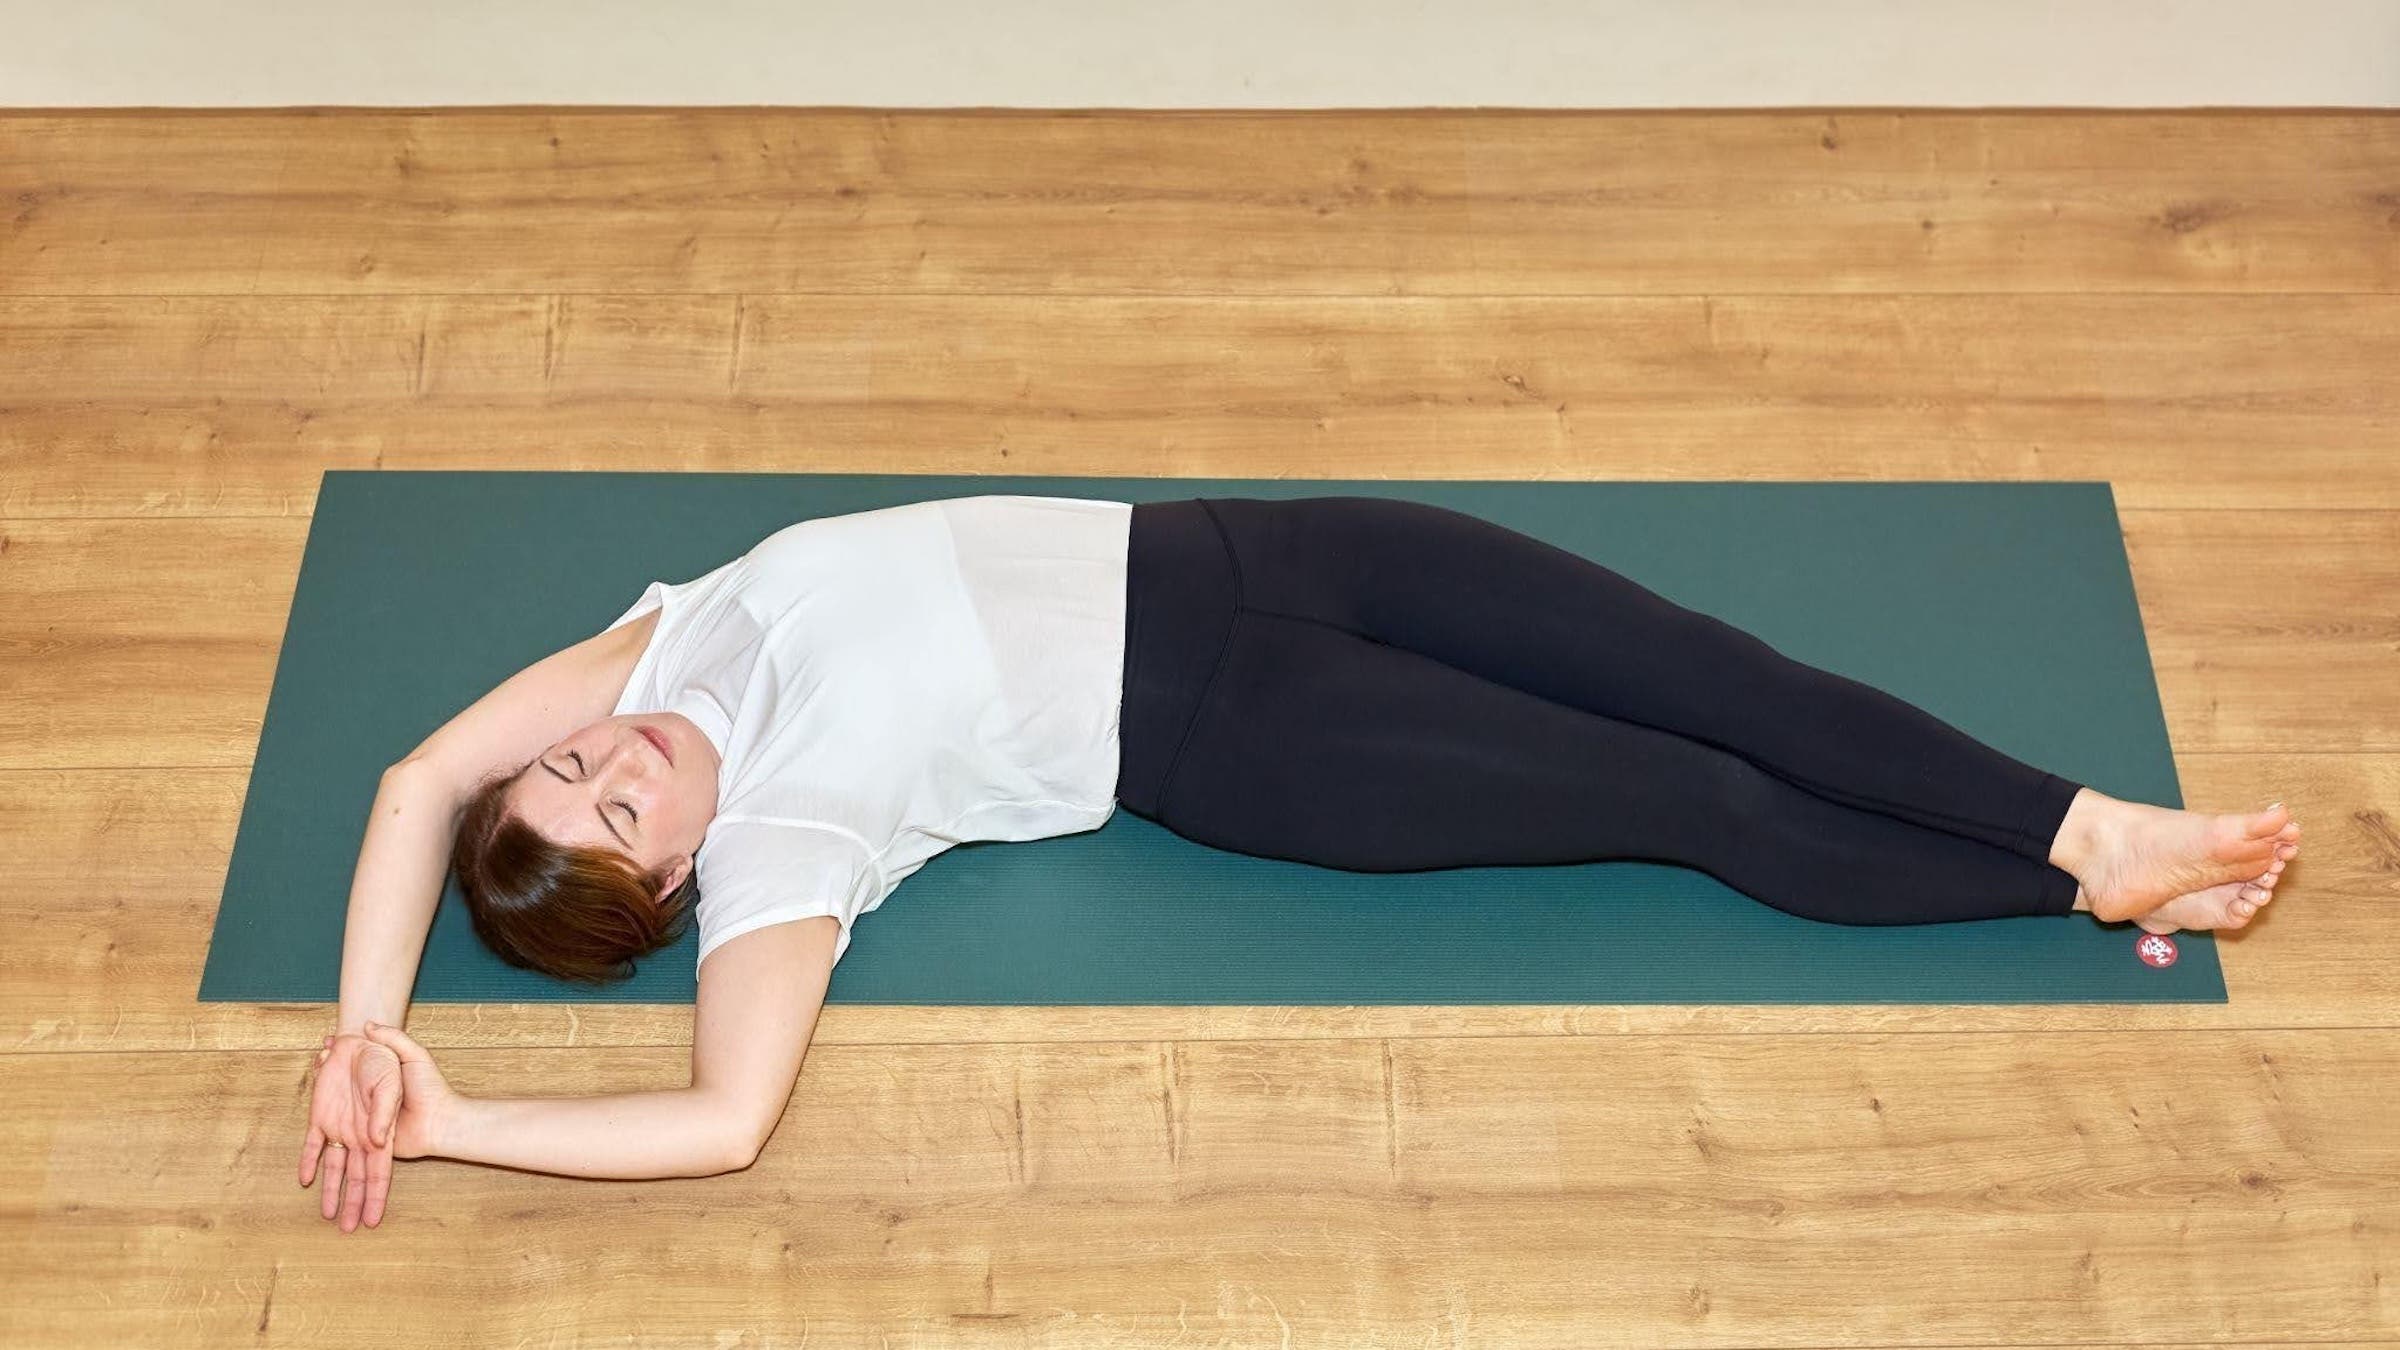
A pose named for exactly what it looks like, Banana Pose is a reclined shape that targets the entire side body, from ankle to armpit.
How to: Lie on your back and walk your feet and shoulders over to your right side so your body curves like a banana. Stay here or cross your left ankle over your right ankle to intensify the stretch a little. Reach your arms overhead, loosely holding your left wrist with your right hand if that’s comfortable, and settle in.
Your side body almost never gets this kind of attention, and the stretch arrives slowly—around the 1-minute mark you’ll feel it bloom along the ribs. Keep both shoulders and both hips heavy on the floor. Once complete, curve to the other side and hold there.
5. Supported Fish Pose
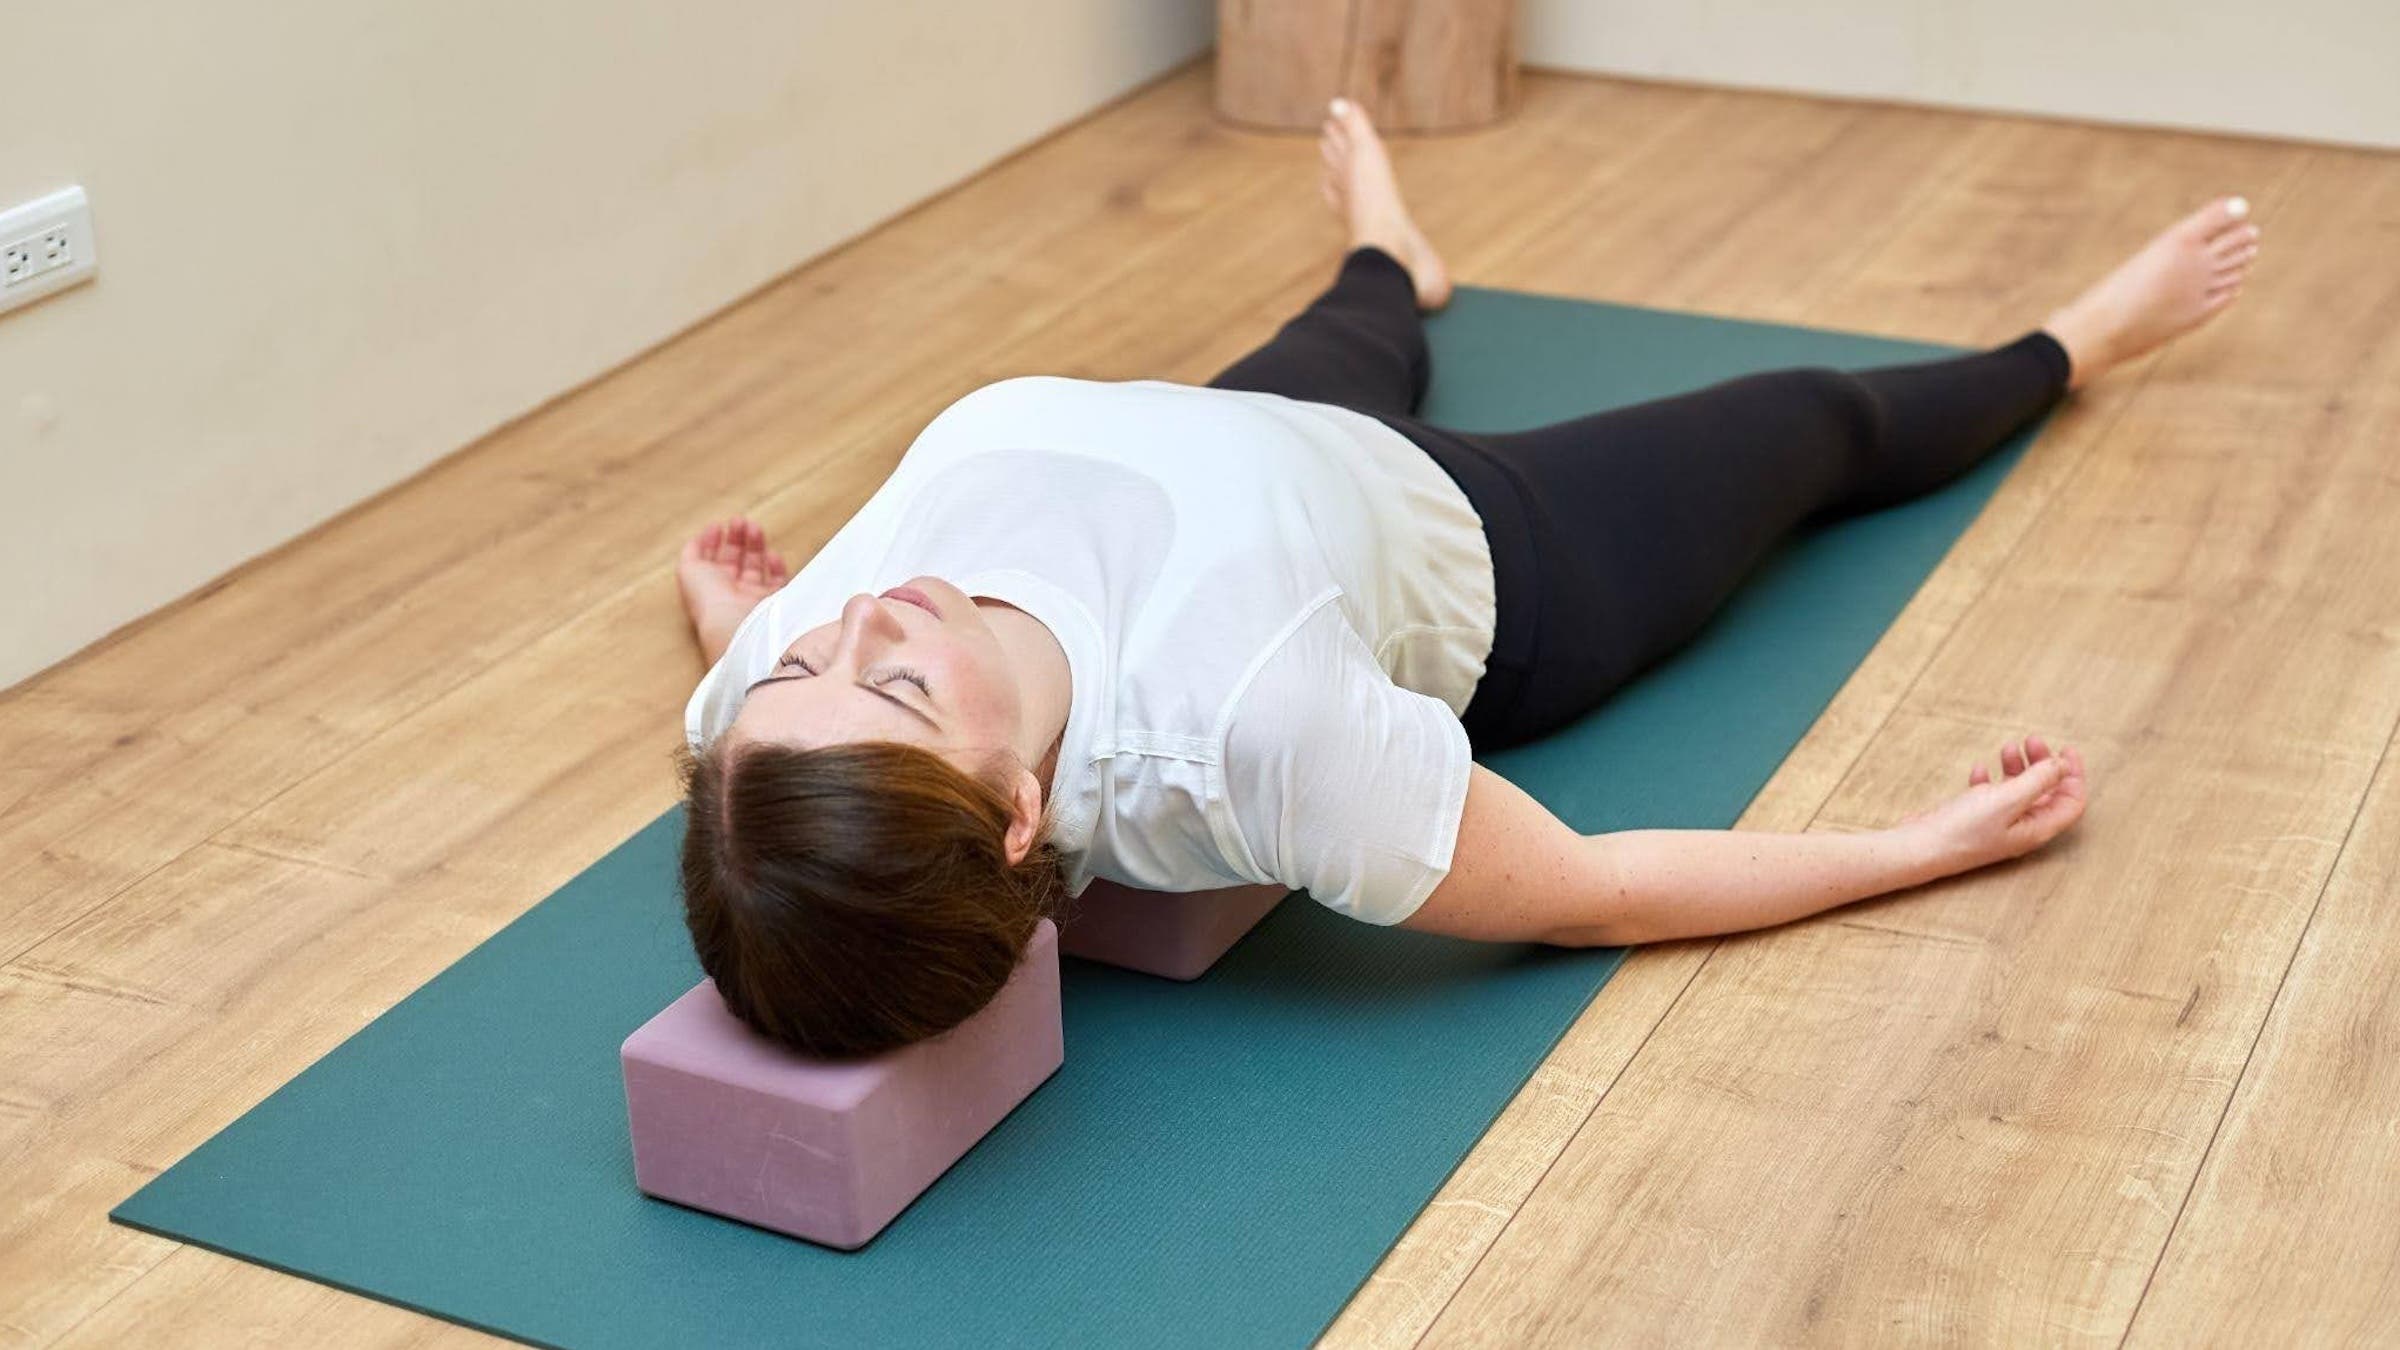
After four poses of folding and curving, Supported Fish Pose offers a counterbalance: the chest broadens, the breath deepens, and the day’s rounding-forward slowly undoes itself.
How to: Place a yoga block on the mat behind you at its lowest height and lie back so the block rests along the spine, its top edge roughly in line with the bottom of your shoulder blades. Place a second block or a cushion under the head to keep the neck comfortable. Allow your arms to fall to your sides, palms facing up. Your legs can be long and angled outward, or if that is uncomfortable in your lower back, bend your knees and bring the bottoms of the feet together, like in Butterfly, or bring your feet on the mat and rest your knees together.
If the lowest height already feels like plenty, that’s your pose; the block can always grow taller another day.
Bonus: Corpse Pose
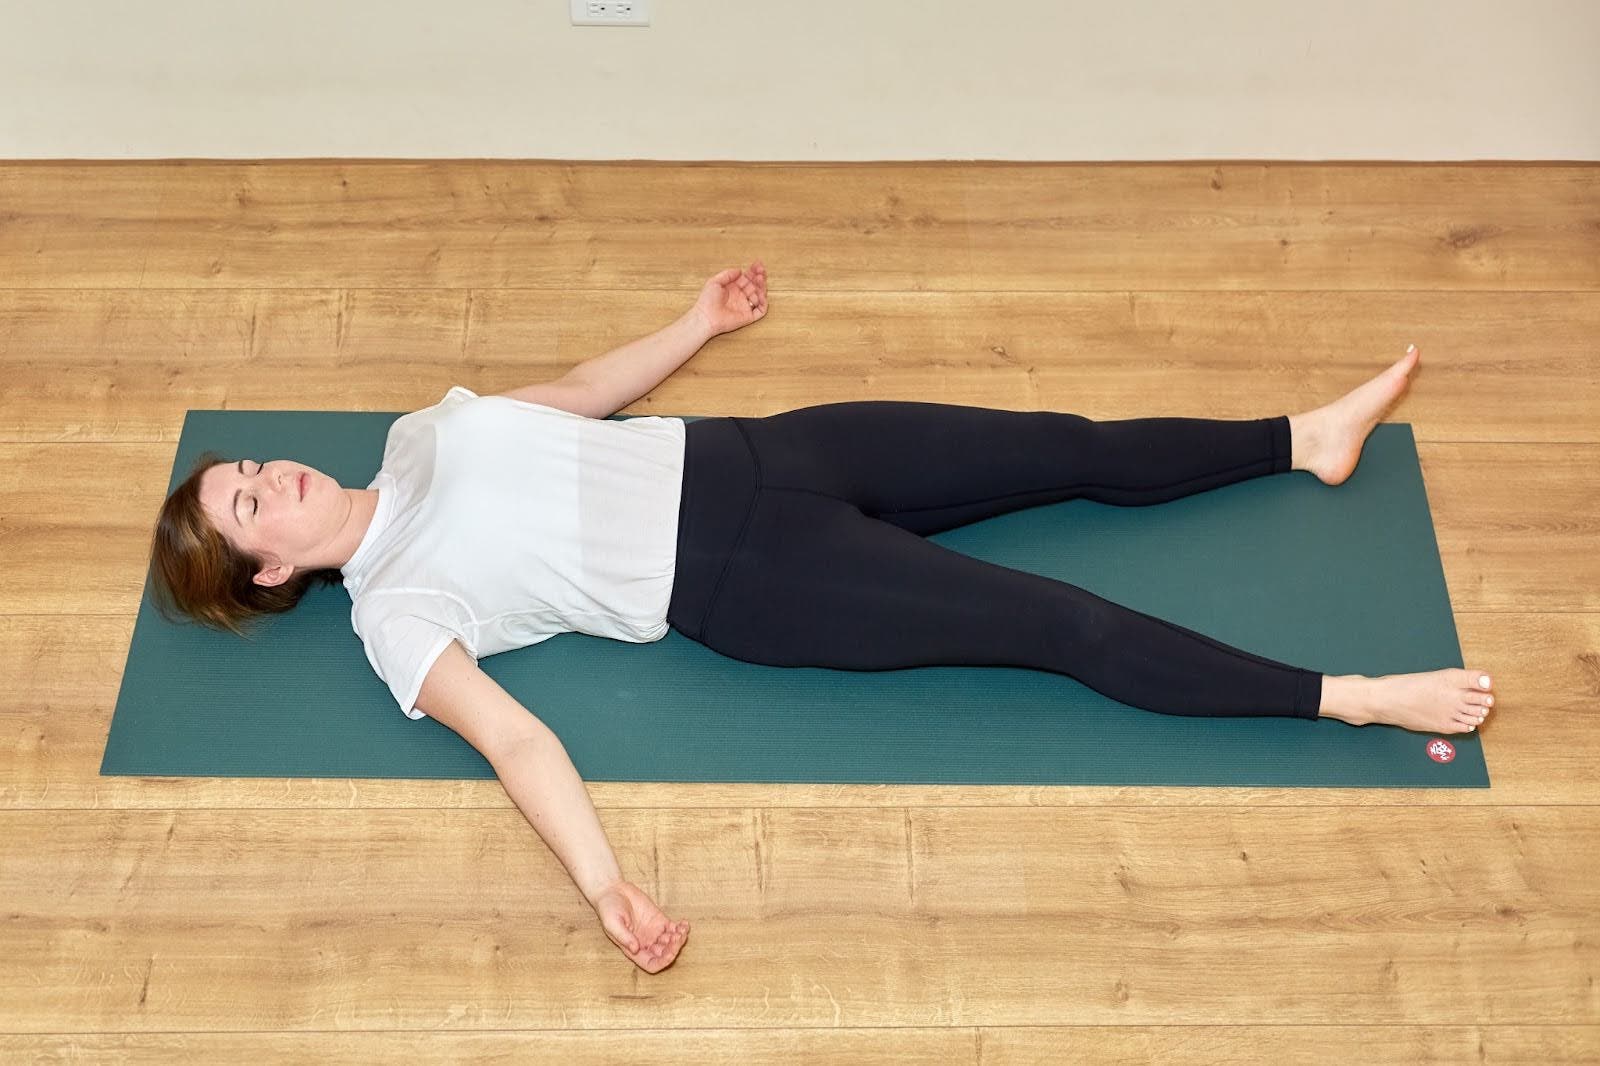
If you have a few more minutes, slide the blocks away and finish flat on your back in Savasana, doing nothing at all for as long as you can linger here.









 English (US) ·
  French (CA) ·