

 1 week ago
21
1 week ago
21
PROTECT YOUR DNA WITH QUANTUM TECHNOLOGY
Orgo-Life the new way to the future Advertising by AdpathwayPublished September 28, 2026 02:15PM
In Yoga Journal’s Archives series, we share a curated collection of articles originally published in past issues beginning in 1975. This article about the sacrum bone first appeared in the November-December 1993 issue of Yoga Journal. Find more of our Archives here.
The Latin word sacer means both “holy” and “cursed.” It is the ancestor of familiar English words like “sacred” and “sacrifice,” as well as of the name of a small triangular bone that forms both the back of the pelvis and the base of the spine. Known to anatomists as the os sacrum, literally the “holy bone,” it was given this appellation, according to one legend, because it was believed to be eternal and so the “seat” of the body’s resurrection.
In the esoteric anatomy of hatha yoga, the tip of the sacrum marks the site of the subtle “root-support wheel,” the muladhara or root chakra, revealed to the yogis as they explored and mapped the “universe” of the human body. Here resides the central figure of the yogi’s quest, the spiritual energy of Kundalini, “the coiled one,” so named because she is traditionally portrayed as a serpent curled in sleep. The yogis see the dormant Kundalini as an image of our spiritual blindness—like her, we are “asleep” to our oneness with the soul, distracted by the dreams that occupy our daily lives—and, at the same time, as a potential source of unlimited creativity and wisdom, waiting only for us to rouse her through our yoga practice.
This image is part of the rich lore handed down to us from countless generations of yogi explorers, who saw the body as a microcosmos, a minute replica of the whole of creation, and searched its hidden recesses for the ultimate meaning of life. We imagine that our bones and flesh are what really exist and that accounts about energy “wheels” and slumbering serpents are merely flights of fancy. But just the opposite is true: The sacrum, along with other regions like the navel, heart, throat, and the middle of the forehead, are only the outward symbols that “embody” a deeper reality.
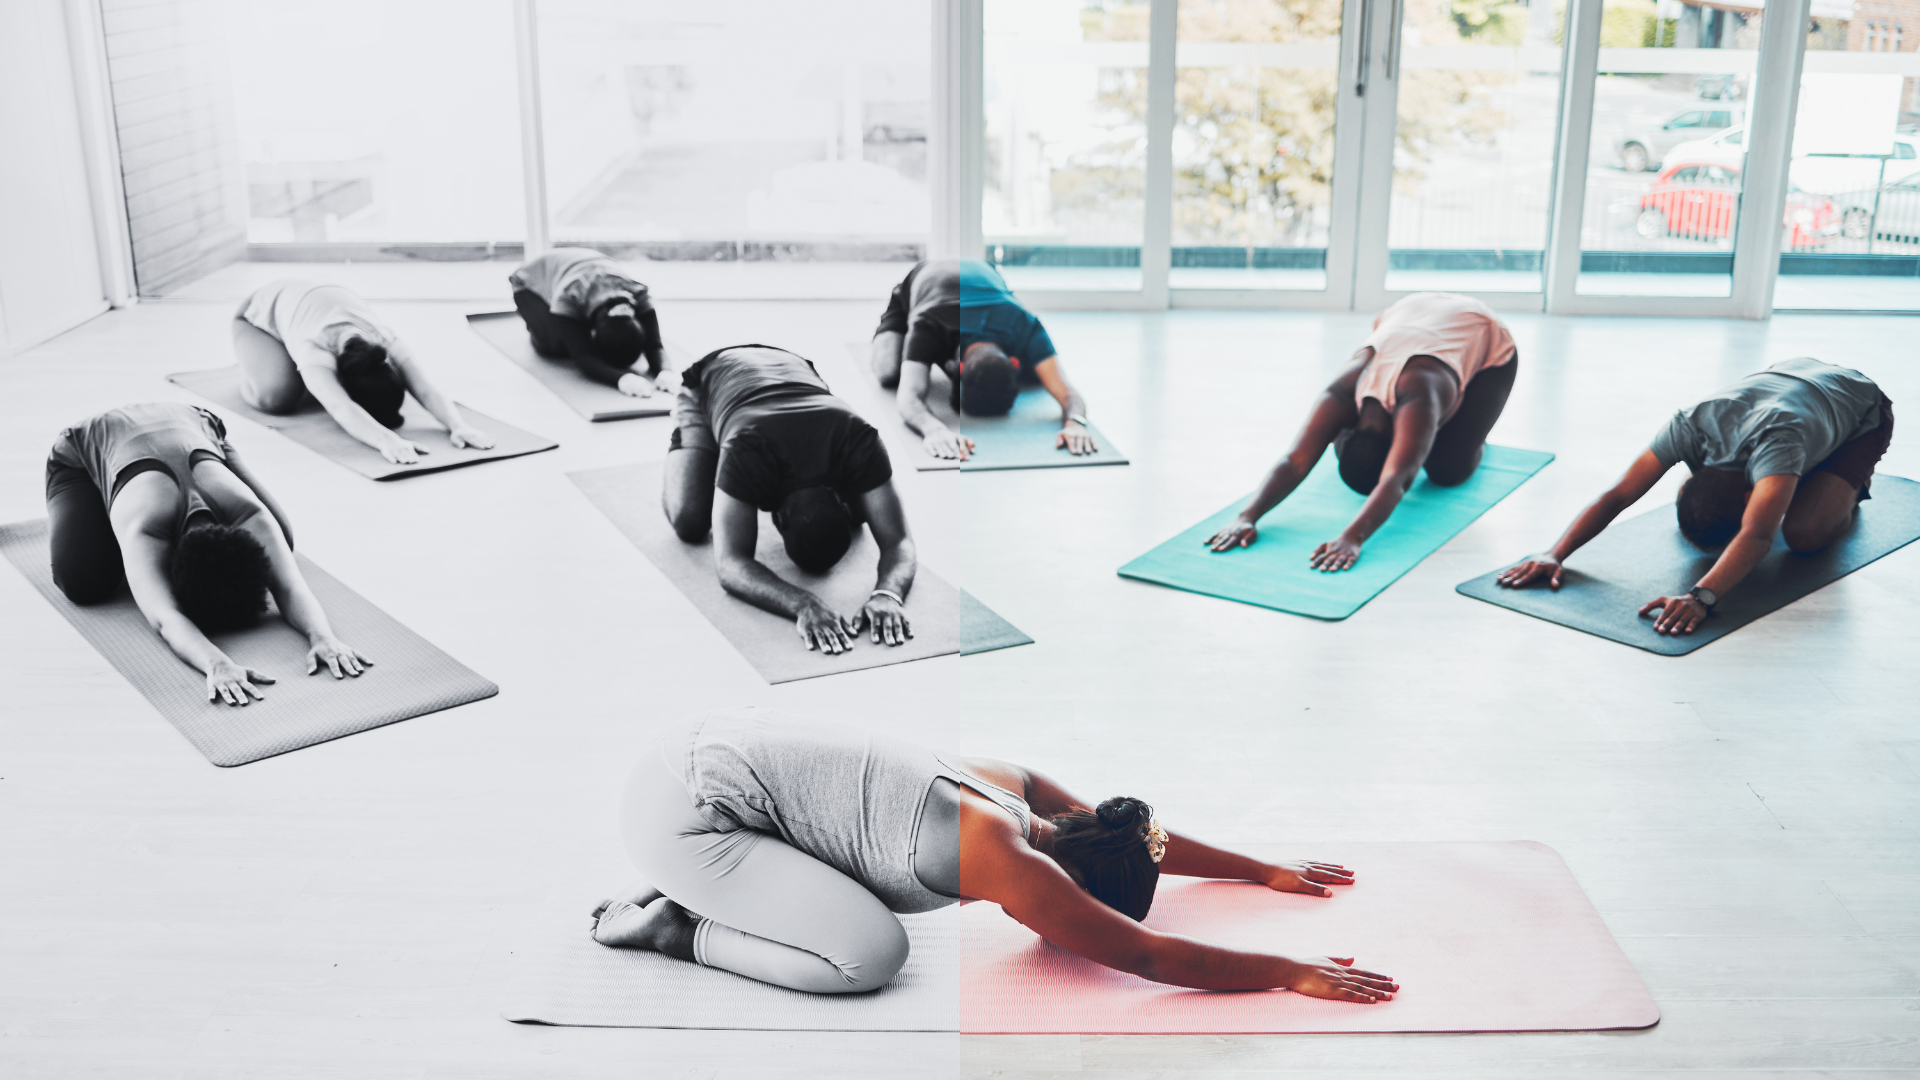
 (Photo: Canva)
What is the Sacrum?
If you’re not sure where the sacrum is, you’re not alone: New yoga students are often in the dark about significant bones and muscles. But the sacrum isn’t hard to find. Stand in Mountain Pose (Tadasana) with your feet a few inches apart and parallel to each other. Use your fingers to palpate the area around the buttock muscles (gluteus maximus) that cover the back of your pelvis. The muscles themselves will feel firm with some “give” if you push hard enough, but you should eventually find a flat area between them that’s rather hard. You’ve found the sacrum.
If you continue digging for awhile, you’ll discover that the sacrum is broad across the top where it acts as a kind of pedestal for the long, flexible part of the spine. The top of the sacrum, which is also the top of the back of the pelvis, is called the base (like the bottom leg of a triangle). It then tapers down to a point, called the apex, to which is attached the vestigial tailbone, the coccyx (a Greek word meaning “cuckoo,” so called because this little hooked bone reminded some imaginative anatomist of a cuckoo’s beak).
The 2 Main Functions of the Sacrum
I first began focusing on the sacrum to help correct a habitual misalignment of my pelvis in asanas, or yoga postures, which over time had resulted in a serious lower back injury. During the past three or four years, I’ve been able to relieve much of the pain, and I’ve also found that many of my students with back problems respond favorably to similar work. But you don’t need a bum back to profitably integrate consciousness of the sacrum into your practice.
As I’ve mentioned, the sacrum embodies the muladhara or root chakra, traditionally drawn as a four-petalled lotus with a downward-pointing triangle at its center. Just as muladhara is the “root” and “support” of the chakra system, so the two main functions of the sacrum are to root and support the spine.
To the yogis, the spine is the “staff of Meru,” the microcosmic equivalent of the mythic mountain at the hub of the universe. The cosmos revolves about “golden Meru”—the axis mundi, the junction of heaven, earth, and hell—in a grand dance of life. And so for us, the spine is the pivot and touchstone of every action. If all the vertebrae are fully involved and sharing equally in whatever actions we take, then we are poised and graceful and the spine feels nourished. In this way we physically experience one of the defining characteristics of yoga, called samatva in the Bhagavad Gita and translated by Georg Feuerstein as “evenness” or “equanimity.” If, however, some of the vertebrae are “stuck” and shift their load to already overburdened neighbors, then the entire spine—and body—suffers, and injury is likely.
As the body is “rooted” in the spine, so the spine is “rooted” in the sacrum. Ideally, all action springs from this source and ripples up the spine to the head like a wave. When we act from the “root,” whether on the physical plane from the “holy bone” or on the spiritual plane from the soul, then we ourselves become “holy,” a word related to both “whole” and “healthy.” Here is another essential trait of yoga, what the Bhagavad Gita terms “skillful action,” action that is effortless, coordinated, and direct. Such action is not determined by an artificial moral code, selfishness, or convenience, but is “right” according to the needs of the presented situation and, in the words of Martin Buber, is shaped to a “sign of the eternal.”
Muladhara also supports an extensive network of subtle energy channels, or nadis, through which the subtle prana, or life force, streams through the body. It is, then, appropriately associated with the earth element, the densest of the five traditional building blocks of the material world. Just as Mother Earth supports each of us in our mundane lives, so muladhara is the starting point and foundation of our spiritual quest.
We can also say that the sacrum is the “earth” that supports the spine. It too is a vital conduit of bodily forces, in particular the downward pressure of the trunk, shoulders, and head, which is received from the spine and “grounded” through the pelvis and legs into the Earth, and the reciprocal upward thrust of the planet, which initiates and sustains the unique structure and capacities of the human spine. If the sacrum is properly positioned, these two forces—which represent the complementary human aspirations of descent into matter and ascent toward spirit—course smoothly through the spine, and we live a fully supported existence. But if the sacrum is misaligned, the spine is cut off from its connection with the ground, the forces in the body stagnate, and we feel “unsupported,” physically strained, and emotionally listless.
6 Exercises for the Sacrum
The yogis believe that there are many hundreds of thousands of asanas, which mirror all the myriad movements of living creatures and the natural world. In addition to the neutral position of Mountain Pose and its inverted variations, however, there are only three basic directions of movement in any pose: forward bend, rotation or twist, and back bend.
In all of these movements, the sacrum—and by extension the entire back of the trunk—should always “widen” horizontally. In my mind’s eye, I divide the bone perpendicularly and then think of “splitting” the left and right halves away from the midline. The sacrum should also always “lengthen” vertically, as if it is being “drawn down” like a window shade toward the floor. Be sure, though, not to “tuck” the tailbone forward to do this, which tends to flatten the lower back. It’s important to preserve the natural curves of the spine. Finally—and this is the hardest action for me—the sacrum should feel as if it’s pressing into the pelvis. This last action is influenced by the kind of asana that’s being worked on and your degree of flexibility. I’ll have more to say about this later.
The following are six simple exercises that will help you get a feel for the role of the sacrum in the neutral position and the three directions of movement. Then, after working with the exercises, I’ll ask you to apply what you’ve learned to three common standing poses. Please remember that many of the instructions given here to “spread” the sacrum are not logical, but intuitive—we’re talking primarily about a movement of energy and sensation, not of muscle and bone. So don’t think about the instructions; just feel them.
 Figures 1 and 2 (Photo: Yoga Journal, 1993)
1. Finding the Sacrum: Reclining Bent Knees
This exercise is for newer students who may not as yet have a clear awareness of their sacrum. It will give you a general feel for the sacrum and the way it “nods” in concert with the breathing cycle.
Lie on your back with your knees bent, the heels a few inches away from the buttocks. It might help to tie your knees snugly together with a strap, separating the feet a few inches and turning the toes in (Figure 1). Bring your awareness to the area of the sacrum in the back of the pelvis. Remember that the sacrum has a natural convexity so the entire bone won’t be flat on the floor.
Don’t be too surprised if, after a while, you notice that the two sides of the sacrum aren’t level on the floor. This could mean that your bone is rotated slightly on a vertical axis, but stay calm—it’s not uncommon. Let the thighs weigh heavily on the pelvis and let the sacrum and the lower back widen as evenly as possible against the floor.
Then experiment with small, slow, rocking movements, using the floor like a rolling pin to open the sacrum. Use a side-to-side movement to widen the lower back and sacrum away from the middle of the torso. Use a top-to-bottom movement to lengthen the bone as you alternately stretch and contract the muscles of the lower back.
Next, lie still for a few minutes, and focus on the breath. As you inhale, visualize the breath moving up the front of the torso from the sacrum to the top of the sternum or breastbone. You’ll feel the base of the sacrum move into the torso and the lower back lift away from the floor. Then, imagining the breath cresting like a wave at the tops of the shoulders, just as consciously exhale down the back of the spine to the base again. You’ll feel the base of the sacrum and the lower back release toward the floor.
2. Moving the Sacrum into the Body: Reclining Bound Angle
In neutral positions—such as Mountain Pose (Tadasana), for example, or Headstand (Sirsasana)—the sacrum should move evenly into the body. Many students tend to push the base of the sacrum (the broad top edge) into the body, which tips the pelvis forward. Since the sacrum is the base of the spine, this misalignment can have serious consequences not only in the “staff of Meru,” but throughout the body. For those of us who misuse the pelvis in this way, it’s important to first bring the sacrum into proper alignment before trying to press it evenly into the body; otherwise, we accentuate an already unhealthy situation.
Don’t imagine that you’ll get the bone to move much; as I’ve mentioned, the sacrum is firmly fixed to the “wings” of the hips. Rather, generate here an awareness of an energetic movement at the “root support” that both stabilizes and lightens the spine and body. This sense of stability and lightness is the fundamental awareness in any successful asana. Patanjali describes it as “steady and comfortable,” and the 20-century American yogi Lewis Thompson as “strength without tension.”
Lie on your back near a wall with the soles of your feet pressed together and your knees out to the sides in Reclining Bound Angle (Supta Baddha Konasana). Keeping the balls of the feet and the heels touching, spread your toes against the wall and move your pelvis in toward your heels as close as you comfortably can (Figure 2). If you sense that the stretch in the inner groins will be too much, support the outer thighs on folded blankets. Broaden the sacrum against the floor, and use your hands to roll the outer thighs toward the heels. If you’re stiffer in the groins, this action will lengthen the lower back and raise the knees higher—don’t try to push the knees back down again. If you have trouble keeping the lower back released, raise your feet on a block a few inches off the floor.
Press the outer edges of the feet into each other and think of widening the distance between the inner knees. Keep the knees light, but make the inner thighs heavy and drop them toward the floor, being sure to hold the length in the lower back. When you feel confident that all this is in place, then imagine that the three sides of the sacrum are moving evenly into the pelvis. (Again, this is a movement of energy more than of bone!) Whenever you try this movement, it’s important to keep the lower belly soft. I find it helpful to put a support under the bone, either a block, or a book.
I like to “rock and roll” on my support for a minute or two, feeling the three sides of the sacrum moving in various combinations into the pelvis. Then lie for a few minutes more and continue to imagine that the inner thighs are sinking down and the sacrum flying up.
 Figures 3a, 3b, 4a, and 4b (Photo: Yoga Journal, 1993)
3. Widening and Lengthening the Sacrum for a Forward Bend: Sitting Crossed Legs
Forward bends present different challenges to different kinds of students. Flexible students have the openness in the groins and hamstrings to move into the forward bend properly—folding from the hip joints—but often tend to “push” the base of the sacrum up and into the body, shortening the bone and hardening the muscles along the lower back. On the other side of the coin, stiff students who are closed in the groins and hamstrings tend to struggle forward by folding at the waist while the pelvis remains immobilized or, worse, the sitting bones are dragged toward the heels. This in turn will pull the base of the sacrum down and out of the pelvis, narrowing the bone and overstretching the lower back muscles.
Ideally, the sacrum is neutral in a forward bend. For the flexible student, this means that the base of the sacrum should release a bit out of the pelvis and the bone itself should lengthen toward the floor. The stiff student—whose spine and torso will stay more upright in a sitting forward bend—should work to widen and lift the base of the sacrum up and into the pelvis.
This simple sitting position will help you to experience what such a neutral position is like. You can then recreate this sensation in a forward bend.
Stiff beginners should first bring the left heel beside the right hip, with the outer left leg on the floor, and then bring the right leg over the left, making sure that the right ankle is outside the left knee (Figure 3a). Don’t be too alarmed if your right knee sticks way up, but be sure not to force the knee toward the floor. If you feel any strain in the inner knee of the top leg, raise that knee even higher until the sensation stops. If you’re having trouble getting both buttocks on the floor, sit on the edge of a folded blanket.
More experienced students can bring their legs into the position used for Cow Face Pose (Gomukhasana), drawing the right foot back even with the left hip and dropping the right knee toward the left knee. It’s not necessary to bring the knees exactly on top of one another, but moving the knees toward each other helps to give the feeling of widening the sacrum.
For the first few minutes, use your thumbs to palpate the buttock muscles; most beginners will experience the upper borders of these muscles as quite hard and unyielding. If you can find the inner borders of the buttocks, you’ll also be able to trace the “legs” of the sacral triangle. Then put the base of your palms on the tops of the buttocks with your fingers pointing down and your thumbs on the front hip points. Without physically moving the hands over the surface of the skin, use them to “drag” the skin and flesh of the buttocks away from the sacrum as you press the hip points together (Figure 3b). You should feel a very pleasant horizontal stretch across the back of the pelvis as you widen the sacrum.
Now maintain the width, and “lengthen” the sacrum by pressing the upper buttocks toward the floor, again without moving the hands. Remember that we want to lengthen the lower back and sacrum, but not flatten the natural curves of the spine. To resist the tendency to sink the lower back, keep the pubic bone at the front of the pelvis moving toward the floor.
If you’ve gotten this far and still feel fairly comfortable, try leaning forward—from the hips, not the waist—elongating the belly along the inner right thigh. As you move into a forward bend, see if you can continue to expand the sacrum.
4. The Sacrum in a Twist: Reclining Twist
I use this simple reclining pose to experience the movement of the sacrum in a twist. A number of standing poses involve a twist to a lesser or greater degree (for example, Triangle and Revolved Triangle).
In twisting poses, most beginners tend to turn from somewhere in the middle of their backs, an “uneven” movement that entirely excludes the lower back and the sacrum. More flexible and more experienced students move from the root, but tend, as in the forward bends, to push the sacrum up and into the body. By contrast, the correct movement is to move from the root of the spine while broadening and releasing the sacrum downward.
All twists originate in the sacrum and spiral up the spine to the head, which should always receive the action and never lead it. When we twist to the right, for example, the action starts in the left side of the sacrum, which moves into the pelvis a little deeper than the right.
To experience this sensation, lie on your back and draw your knees toward your chest. With an exhalation, keeping the knees up, roll completely to the left, so that the whole left side of your body is on the floor. Put your left hand on the middle of the right thigh and press the legs to the floor. (If resting your legs on the floor in this twist causes discomfort in your back or neck, it’s best to elevate the legs on as much height as you need to feel comfortable.)
Now bring your right hand to the lower spine above the sacrum and feel the line of “knobs,” the bony protuberances of the vertebrae that serve as attachments for spinal muscles. For many beginners, the lower back rounds and these bones poke well out, overstretching the muscles along the spine. Draw the sitting bones away from the backs of the knees and lengthen the distance between the pubis and navel. Then, starting as high on the back as you can reach, work the thumb along the line of knobs toward the sacrum, pushing them down and in, shaping a smooth concavity in the lower back (Figure 4a).
Once you reach the sacrum, spread your palm wide against the bone, fingers pointing to the apex, and recreate the feeling of width and length. Then press the thumb into the left side of the sacrum and, with an exhalation, twist the torso to the right, leaving the legs on the floor. See if you can get a feel for the root of the twist in the sacrum. Then, with an exhalation, extend the right arm straight to the side and “feed” the right side of the sacrum into the fingertips (Figure 4b).
 Figures 5a, 5b, 5c, and 6 (Photo: Yoga Journal, 1993)
5. Preparation for Lunge: Reclining Half Hero
This exercise is both a preparation for the lunge which follows and an effective way to further contact the sacrum. It can cause strain in the knee and lower back, so if you’re unfamiliar with this position and have a teacher available, it might be best to get his or her guidance before giving it a try.
Start by sitting with the legs extended in Staff Pose (Dandasana). Lean onto the left buttock and draw the right leg back into Half Hero (Supta Ardha Virasana), making sure there’s a little space between the inner right heel and the outer right hip and that the toes are pointing straight back. If your right knee wants to come off the floor, prop it up on a folded blanket; if it wants to slide off to the right, put a block between the right knee and the left thigh and squeeze (Figure 5a).
Stiffer students can lean back on their hands, lengthening the apex of the sacrum toward the left heel and twisting slightly side-to-side to widen the base. More flexible students can come down onto their forearms (Figure 5b). Then bend the straight leg and press the foot into the floor, lifting the buttocks slightly up. Use the hands now to widen and lengthen the sacrum, making sure that the apex moves toward the bent knee and the base releases toward the floor (Figure 5c).
Give yourself a comfortable stretch in the right thigh and groin. Move the front ribs into the body and soften the belly. Widen the base of the sacrum into the hips and think of the outer hips lifting up toward the ceiling.
6. The Sacrum in a Backbend: Lunge
Many beginners, especially if they’re dealing with lower back problems, are particularly wary of backbends—and rightfully so. If performed without attention to correct alignment, backbends can make a bad situation worse. On the other hand, backbends can be very beneficial to students with lower back pain. To get the most out of a backbend, the pelvis must be positioned to maximize the length of the lower spine and the front groins. The pivot of the backbending action should be the apex of the sacrum (the bottom), not the base.
Face the wall for Low Lunge. Put the toes of your right foot against the wall and align the right knee over the ankle so the shin is about parallel to the wall. Put your left knee on the floor directly below the left hip—you may want to pad this knee with a folded blanket. Bring your hands onto the wall about shoulder height.
Now begin to slowly slide the left knee away from the wall (keeping the right knee over the ankle) until you can feel a comfortable stretch in the front of the left thigh and groin (Figure 6). Notice if you feel any compression in the lower back. If you do, check if the base of the sacrum is moving in to the body and if the bone feels narrow—if so, create the opposite movements. Broaden the sacrum—use the hands if necessary—and emphasize the length of the bone by moving the base out of the body and drawing the apex down to the floor. Keep the lower front ribs moving down and into the body, and keep the belly soft.
And following re some suggestions for working with the sacrum in common standing poses:
7. Finding Neutral Position: Mountain Pose
Come into Mountain Pose (Tadasana) You might want to start by rocking the pelvis back and forth a few times to find the extremes of your range of movement. Then gradually decrease the rocking until you stop in what you experience as a neutral position. Use your hands to broaden the base of the sacrum, while you move the hip points toward each other and release the apex of the sacrum toward the heels. Then, with the front thighs pressing firmly back, recreate the awareness of the three sides of the sacrum moving forward evenly. You might be able to feel how these opposing actions help to ground the heels and lift the spine.
8. Forward Bend: Intense Extension
From Mountain, fold forward at the hips on an exhalation into a Standing Forward Bend (Uttanasana), keeping the sacrum wide.
Stiffer students shouldn’t struggle to get their hands to the floor; it’s better to use a chair to support the hands and work to extend the front of the torso, while moving the base of the sacrum into the pelvis.
Flexible students should think of moving the apex of the sacrum toward the heels, even as the sit bones lift. This action will help to release the base of the bone out of the pelvis and free the lower back.
9. Simple Twist: Triangle Pose
Take a wide stance with the left heel against a wall, and exhale into Triangle Pose (Utthita Trikonasana). Use a chair to support the lower hand. Begin by turning slightly to the right, that is, rotate the torso toward the floor. Use this position to establish the length and width of the sacrum: The apex of the bone should “feed” into the left heel, and the two sides of the bone should broaden, right side releasing to the floor, left side lifting to the ceiling.
Then, with the thumb pressing on the right side of the sacrum, exhale and twist to the left. The base of the sacrum wants to push into the pelvis and the right side wants to come out, so challenge yourself to create the opposite actions.
The Play of the Universe
The universe, the yogis say, is lila, the joyous “play” of the Goddess, and the movements of the natural world and all the creatures that inhabit it are Her asanas and pranayama. In the words of James Carse, our world is an “infinite game,” with no winners or losers, whose only purpose is to continue for as long as possible and to “keep everyone in play.” Our yoga practice in general, and our search for the “holy bone” in particular, should reflect this endless sacred sport, expressing the bliss that the yogis have divined at the “root” of our existence.







 English (US) ·
  French (CA) ·