

 20 hours ago
7
20 hours ago
7
PROTECT YOUR DNA WITH QUANTUM TECHNOLOGY
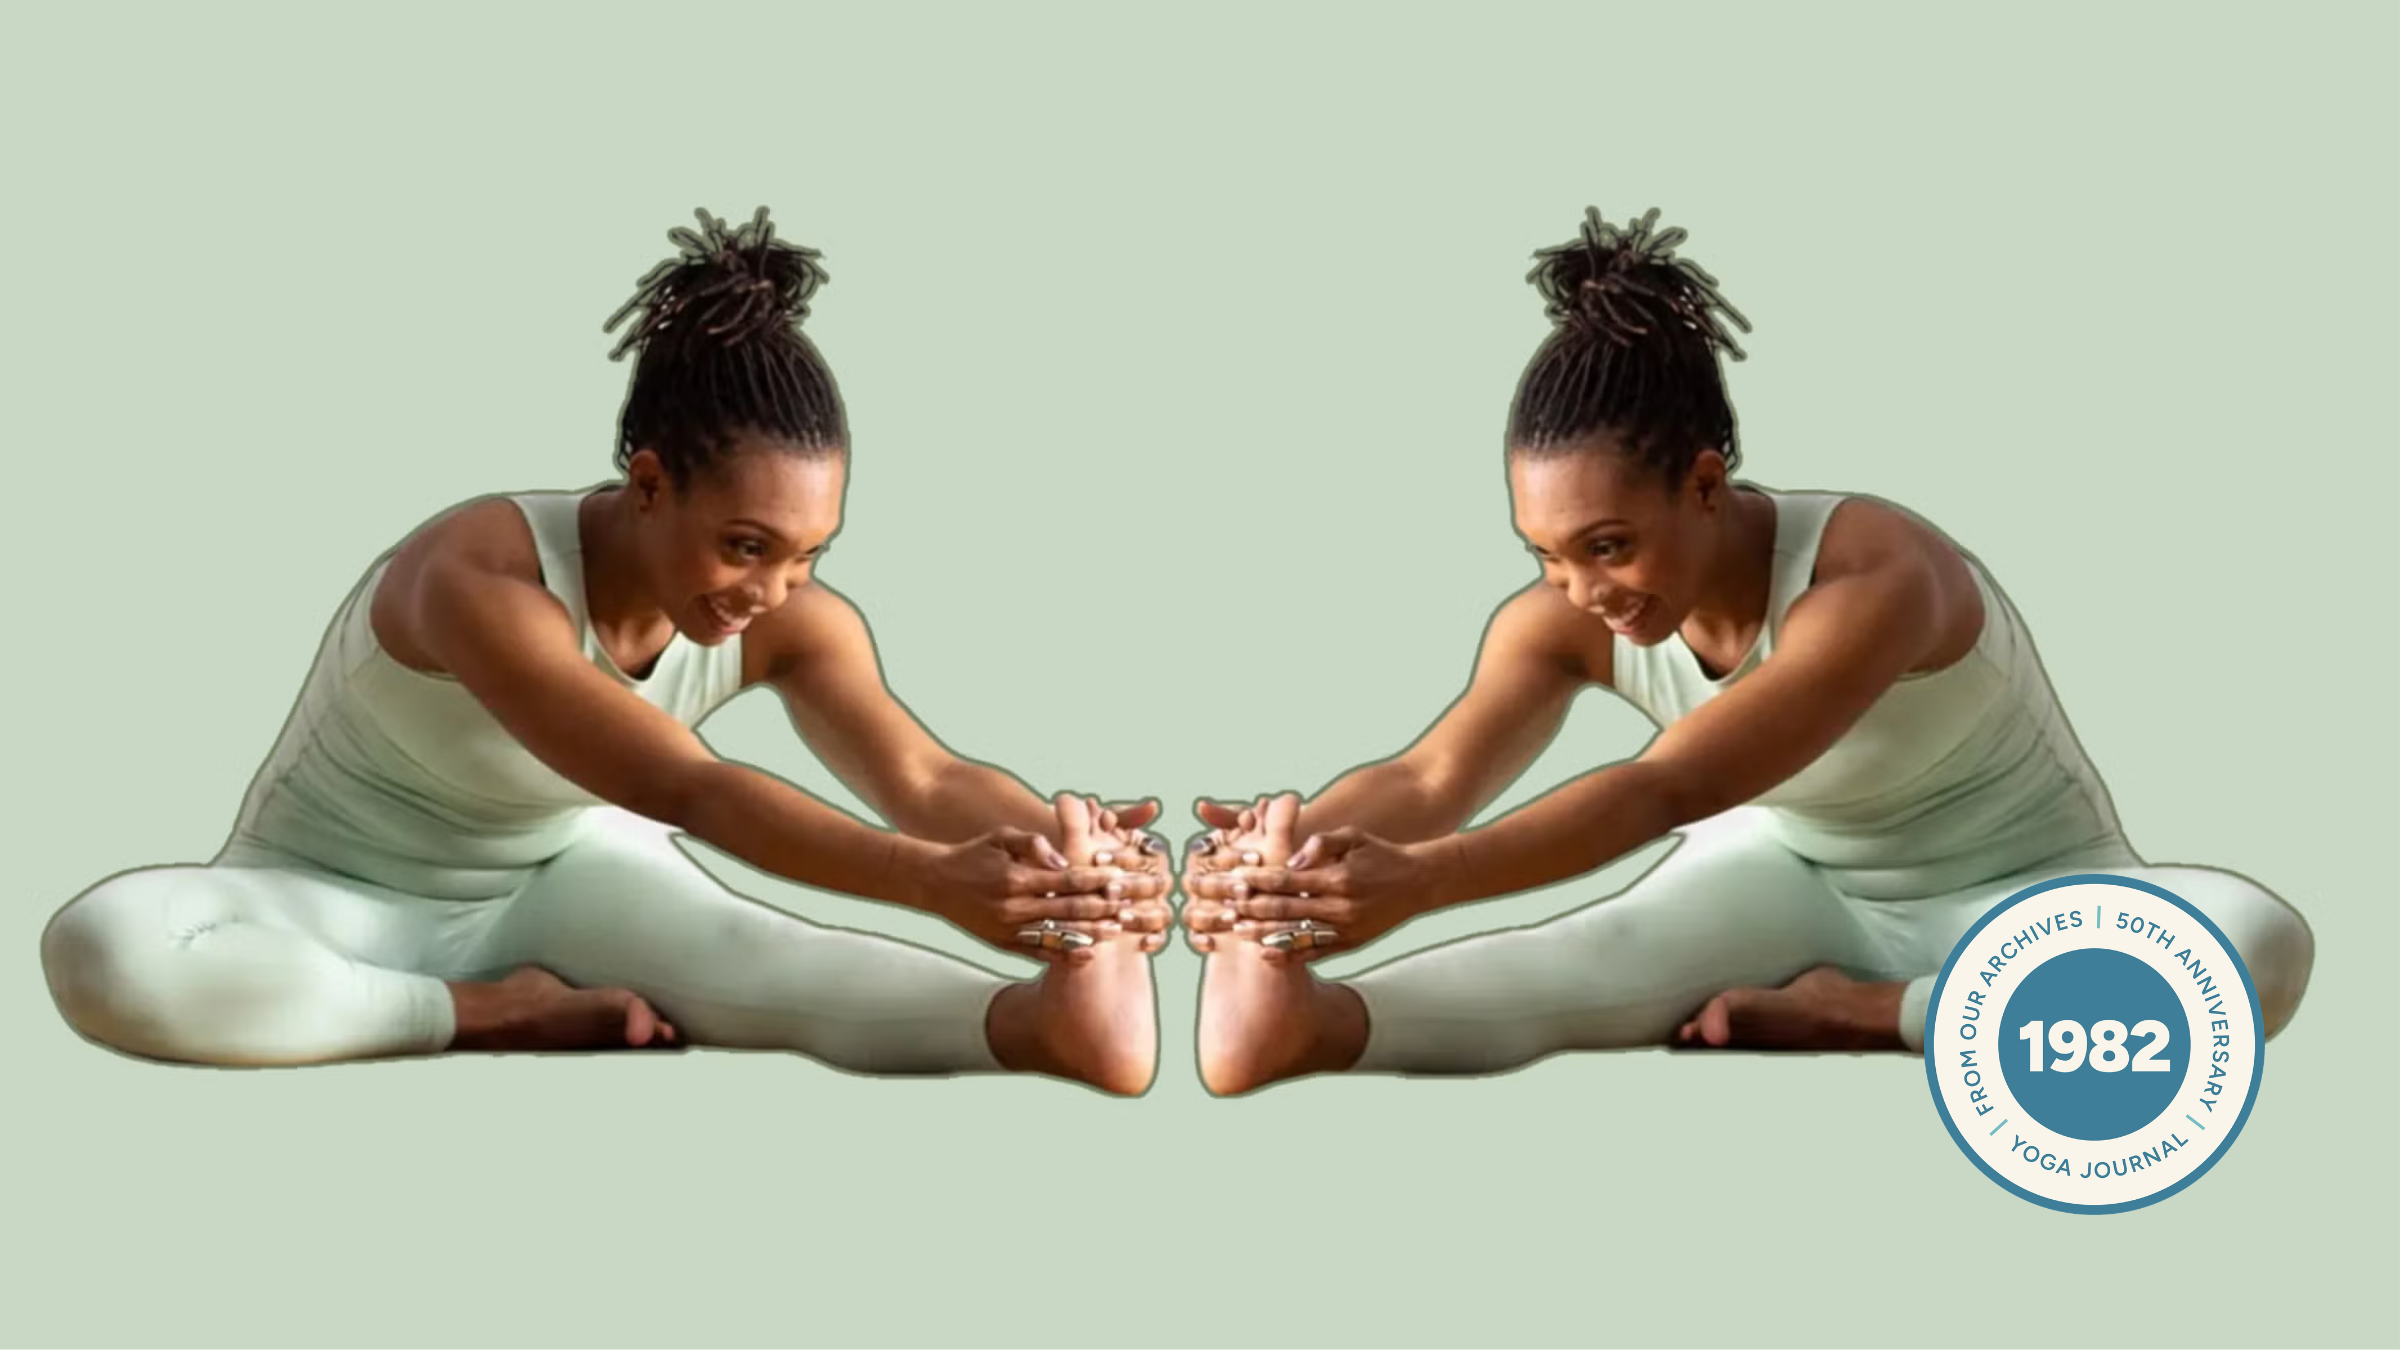
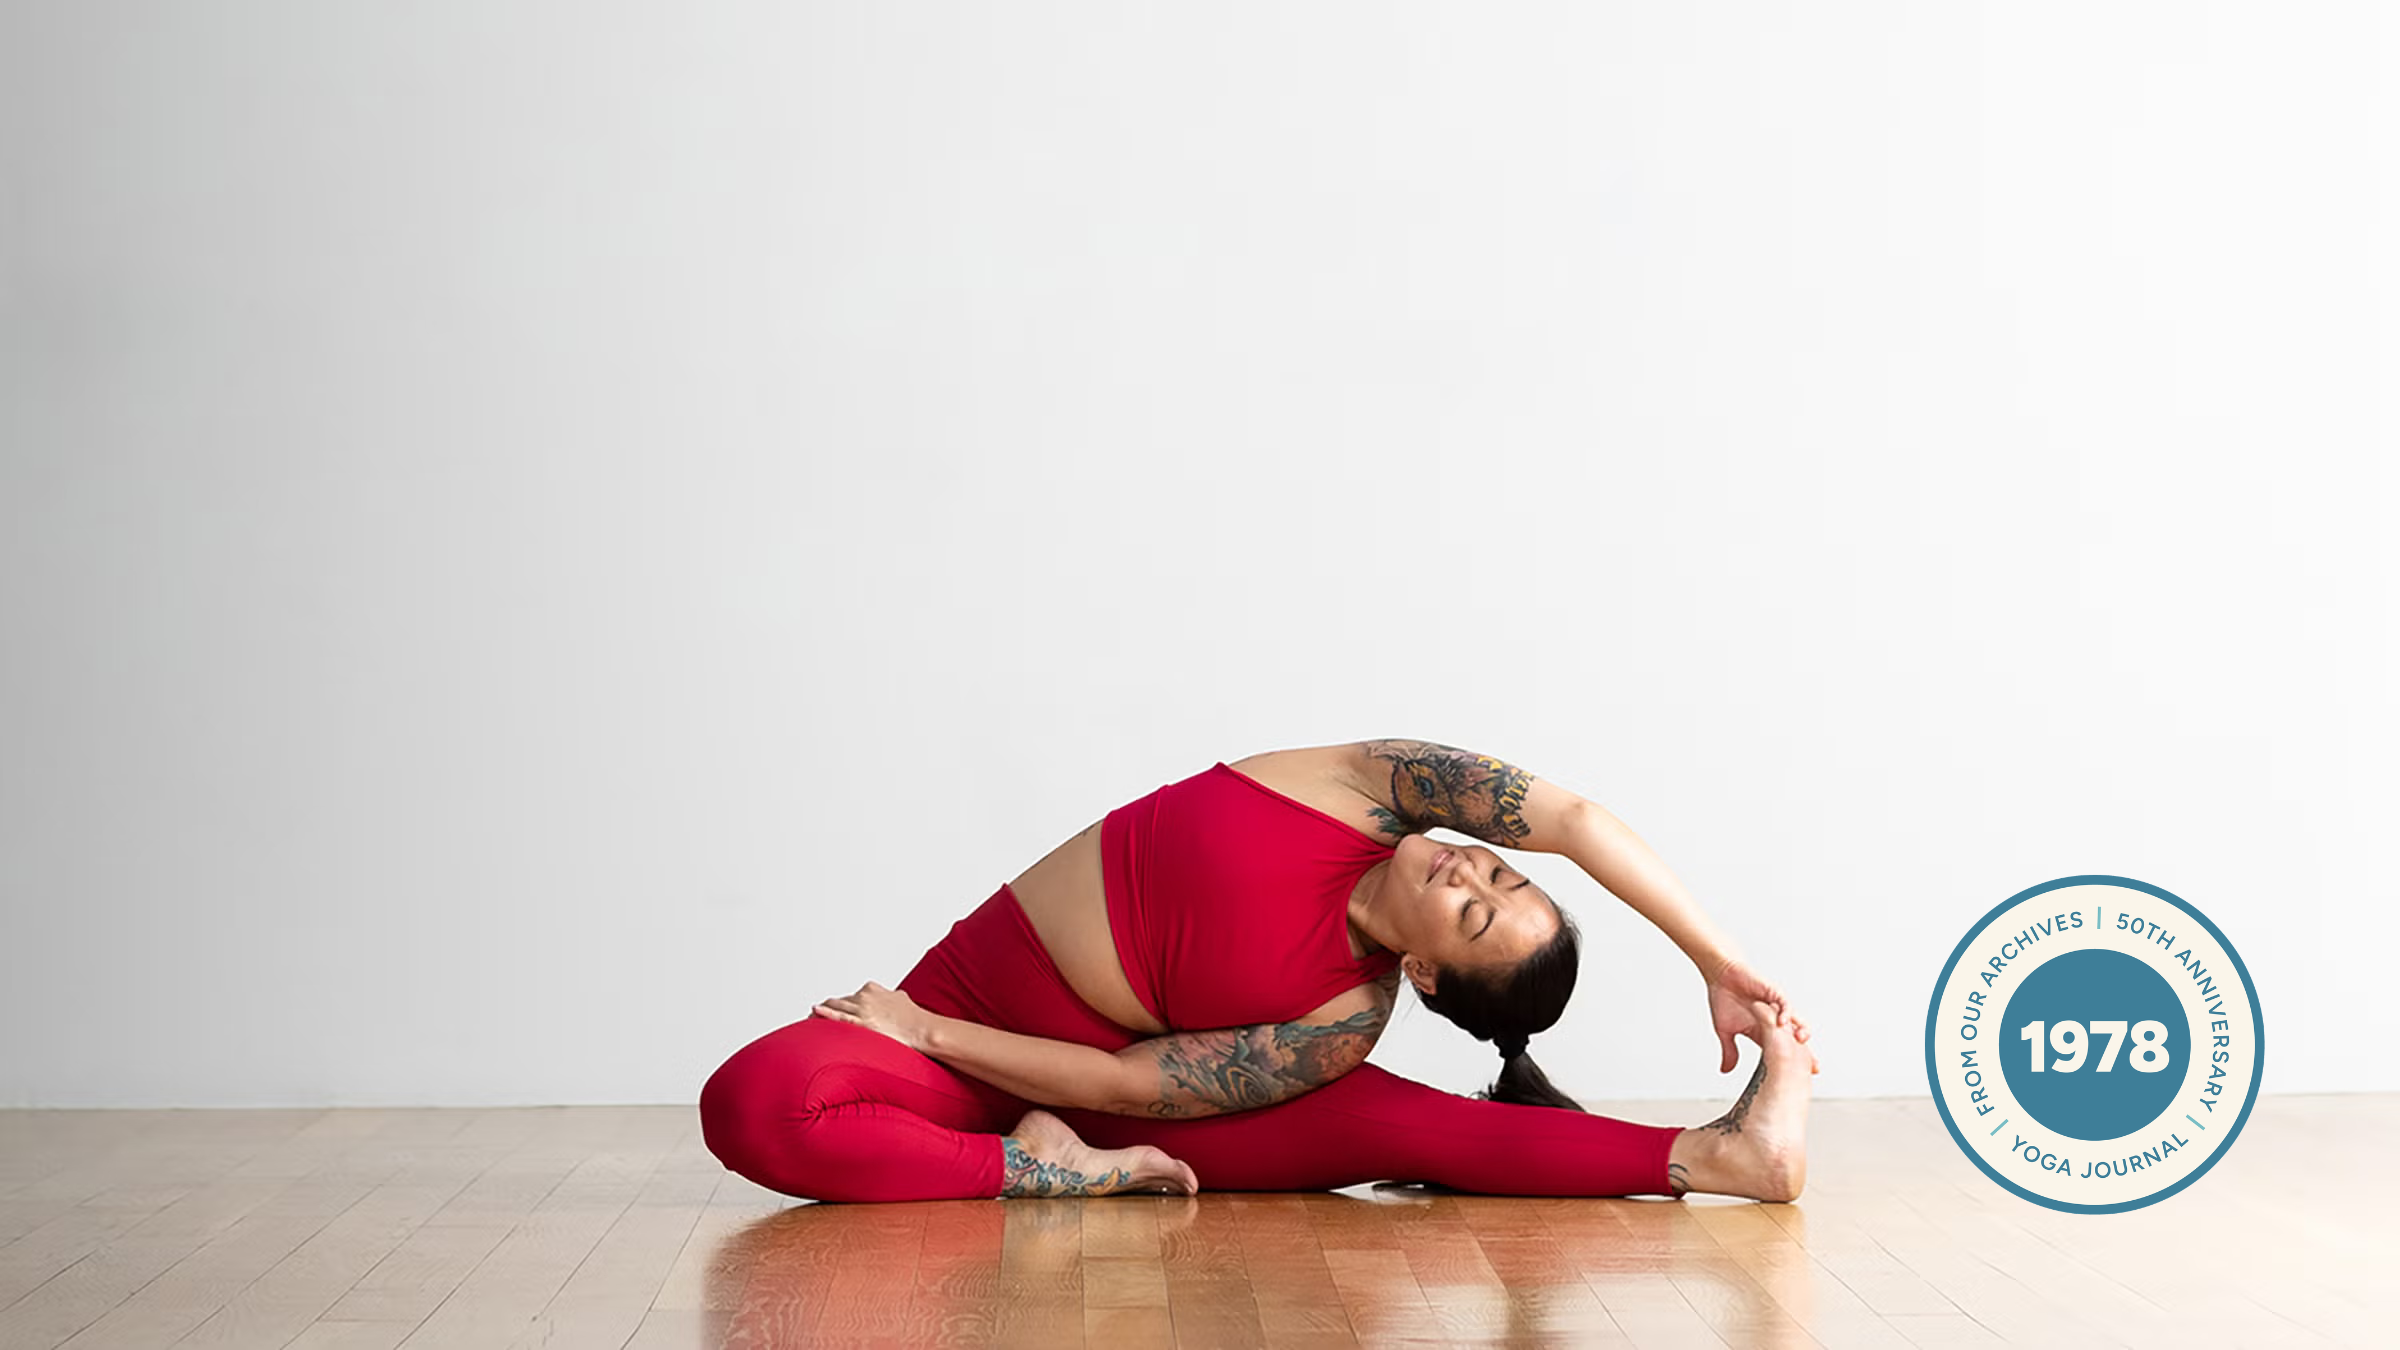
Orgo-Life the new way to the future Advertising by AdpathwayFinding a still point in your mind provides you deeper access to this pose—and your practice.
(Photo: Andrew Clark; Design in Canva)
Published August 28, 2026 09:48AM
In Yoga Journal’s Archives series, we share a curated collection of articles originally published in past issues beginning in 1975. This article about Head-to-Knee Pose (Janu Sirsasana) first appeared in the March-April 1982 issue of Yoga Journal. Find more of our Archives here.
Many people feel that the asanas (postures) can become a meditation in and of themselves. If practiced well, the asana creates and expresses a stillness that is not encountered elsewhere. Head-to-Knee Pose (Janu Sirsasana) is often one in which the student first encounters this stillness.
Janu means “knee” and “sirs” means “head.” This is the “head of the knee” pose, so named because the kneecap is drawn up firmly throughout the asana. The pose is pronounced “Ja nu shear SHA sa na.”
When correctly performed, Head-to-Knee Pose, or Janu Sirsasana, is a nearly full extension of the vertebral column. This occurs because the pelvis is tipped as far forward as possible, allowing the column to move forward over the leg. The science of Hatha Yoga pays particular attention to the health of the vertebral column, partly because of the importance of the spinal nerves, which pass out laterally through openings in the bones to stimulate organs and muscles throughout the body. Any rotation of the vertebrae can affect the physical nerves; it is also believed that a more subtle misalignment can affect the flow of energy along the spine and thus the nature of one’s consciousness.
Practiced well, Head-to-Knee disturbs the spine as little as possible. Instead, the movement comes from the anterior (forward) rotation of the pelvis over the heads of the femurs (thigh bones). This allows the spine to maintain its full length and its stillness, creating less disturbance in the mind.
In Head-to-Knee, the student at first experiences a great deal of resistance in the legs, with the majority of sensation coming from the hamstrings in the posterior (back) thigh. here may also be resistance in the calf or lower back leg, especially if the toes are turned toward the head. This resistance soon begins to change as the body adapts to its unusual form. Gradually, the student experiences a wave of release and a following stillness. Then, slowly, the resistance begins to arise again. A peak is reached, the body releases, the student moves further into the pose, and the mind quiets. The original “conflict” is resolved into stillness. But this can only occur if the student uses the will to hold the asana and then undertakes the difficult task of choosing to release into discomfort. This cycle occurs again and again. Over time, the peaks of resistance and the valleys of surrender are less and less dramatic; the student is then able to move quickly and directly into the quietness that is the true meaning of the word yoga.
Discomfort plays an important part in the practice of asana. This is not the pain of injury or lack of awareness, but the strong sensation that focuses the mind and gives one something to release from. Without a point of concentration, the mind is lost. It is impossible to concentrate on nothing.
The discomfort of Head-to-Knee allows the mind to come into the center of the asana and gives the student a concrete focusing point.
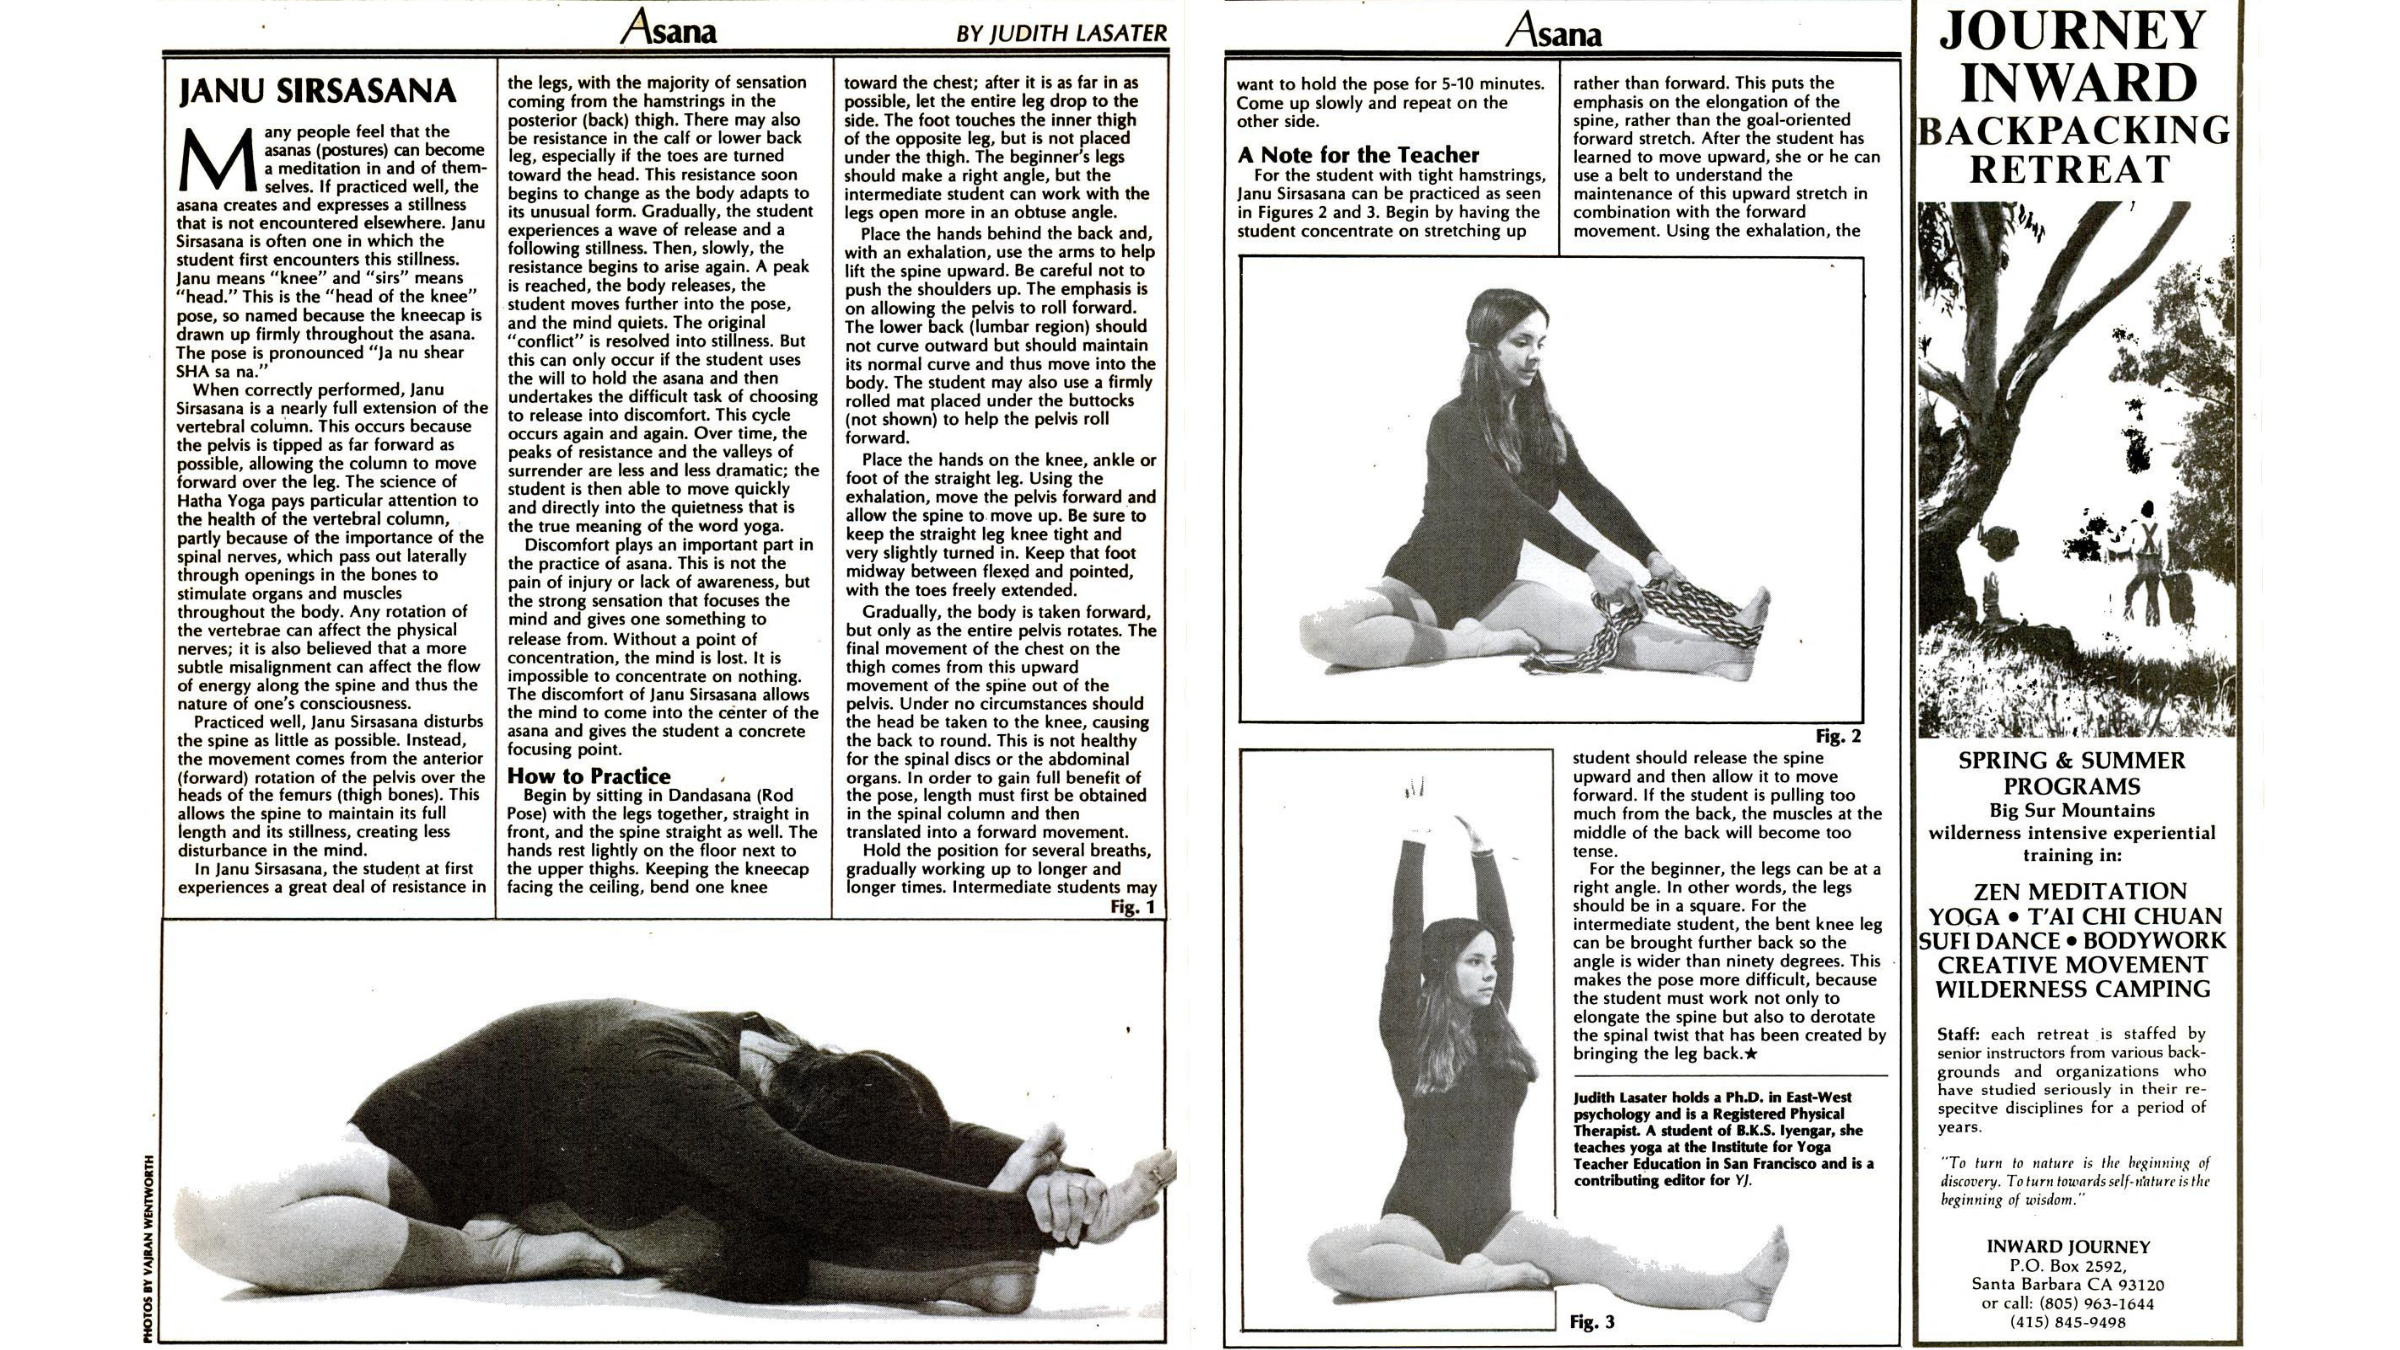
How to Practice Head-to-Knee Pose (Janu Sirsasana)
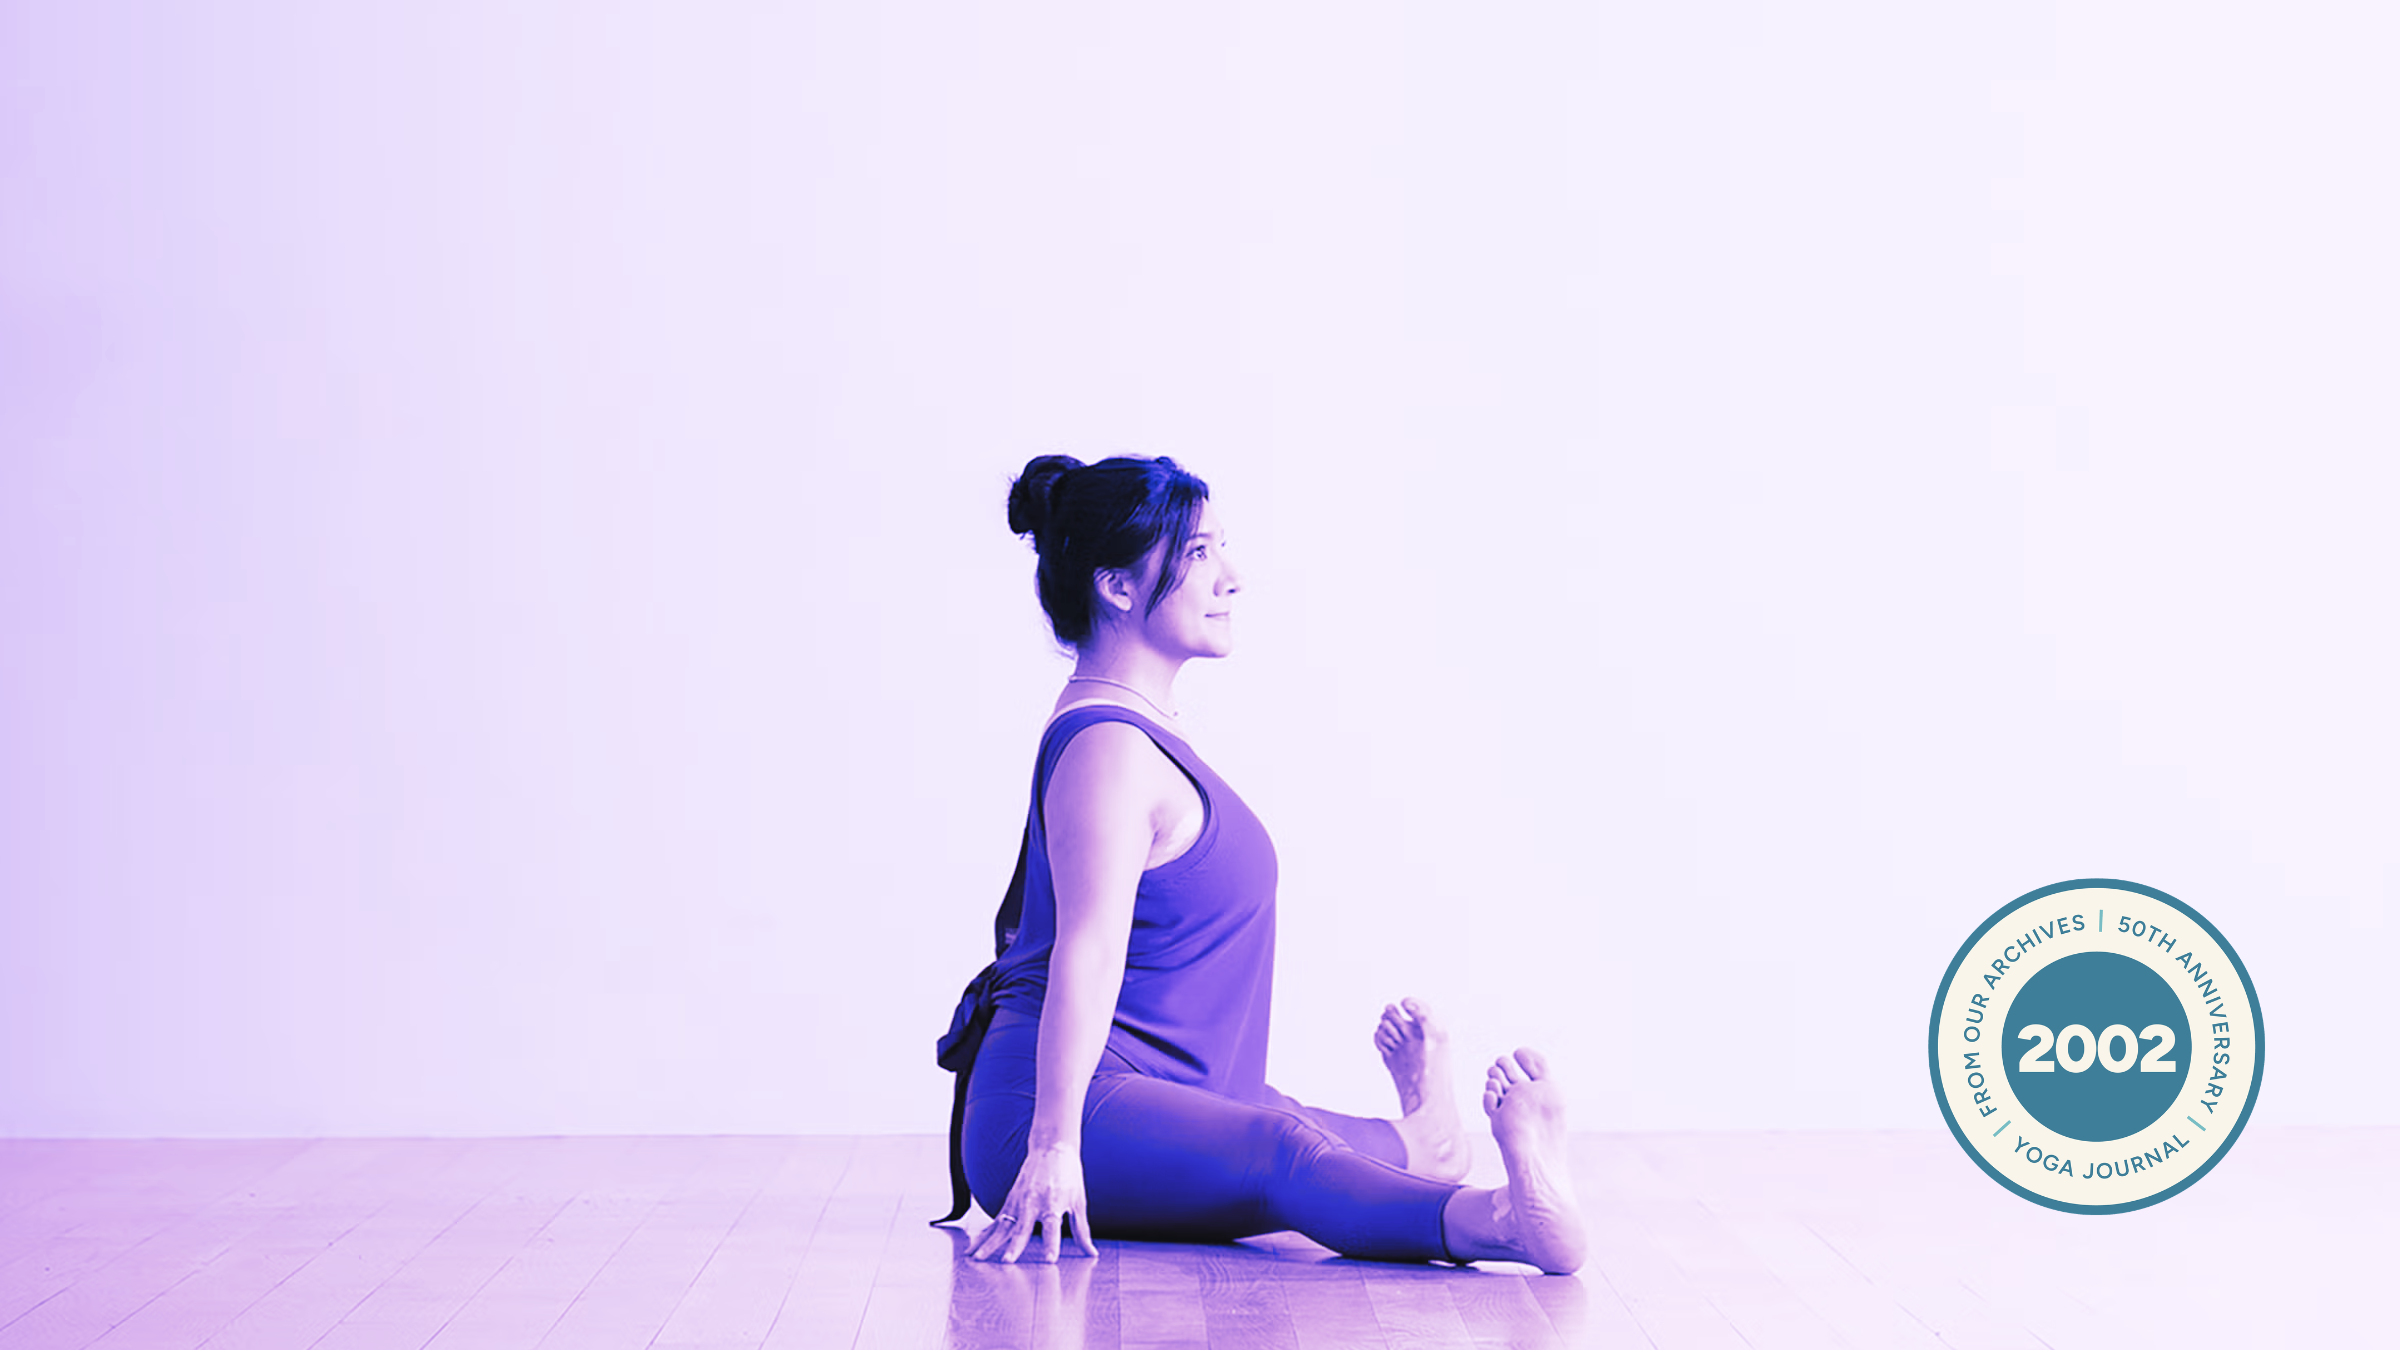
 (Photo: Yoga Journal, 1982)
Begin by sitting in Seated Staff Pose (Dandasana) with the legs together, straight in front, and the spine straight as well. The hands rest lightly on the floor next to the upper thighs. Keeping the kneecap facing the ceiling, bend one knee toward the chest; after it is as far in as possible, let the entire leg drop to the side. The foot touches the inner thigh of the opposite leg, but is not placed under the thigh. The beginner’s legs should make a right angle, but the intermediate student can work with the legs open more in an obtuse angle.
Place the hands behind the back and, with an exhalation, use the arms to help lift the spine upward. Be careful not to push the shoulders up. The emphasis is on allowing the pelvis to roll forward.
The lower back (lumbar region) should not curve outward but should maintain its normal curve and thus move into the body. The student may also use a firmly rolled mat placed under the buttocks (not shown) to help the pelvis roll forward.
Place the hands on the knee, ankle or foot of the straight leg. Using the exhalation, move the pelvis forward and allow the spine to move up. Be sure to keep the straight leg knee tight and very slightly turned in. Keep that foot midway between flexed and pointed, with the toes freely extended.
Gradually, the body is taken forward, but only as the entire pelvis rotates. The final movement of the chest on the thigh comes from this upward movement of the spine out of the pelvis. Under no circumstances should the head be taken to the knee, causing the back to round. This is not healthy for the spinal discs or the abdominal organs. In order to gain full benefit of the pose, length must first be obtained in the spinal column and then translated into a forward movement.
Hold the position for several breaths, gradually working up to longer and longer times. Intermediate students may want to hold the pose for 5-10 minutes. Come up slowly and repeat on the other side.
A Note for the Teacher
For the student with tight hamstrings, Head-to-Knee can be practiced as seen in Figures 2 and 3. Begin by having the student concentrate on stretching up rather than forward. This puts the emphasis on the elongation of the spine, rather than the goal-oriented forward stretch. After the student has learned to move upward, she or he can use a belt to understand the maintenance of this upward stretch in combination with the forward movement. Using the exhalation, the student should release the spine upward and then allow it to move forward. If the student is pulling too much from the back, the muscles at the middle of the back will become too tense.
For the beginner, the legs can be at a right angle. In other words, the legs should be in a square. For the intermediate student, the bent knee leg can be brought further back so the angle is wider than ninety degrees. This makes the pose more difficult, because the student must work not only to elongate the spine but also to derotate the spinal twist that has been created by bringing the leg back.








 English (US) ·
  French (CA) ·